Your EyeVac Home sensor not working can be frustrating, especially when you’re relying on the touchless auto mode to handle debris automatically. The good news is that in most cases, you can fix the issue yourself with some basic troubleshooting—often without needing to call for service. Let’s walk through the exact steps to get your EyeVac Home sensors detecting motion again and your auto mode working properly.
Understanding Your EyeVac Home Sensors
How the motion detection system works
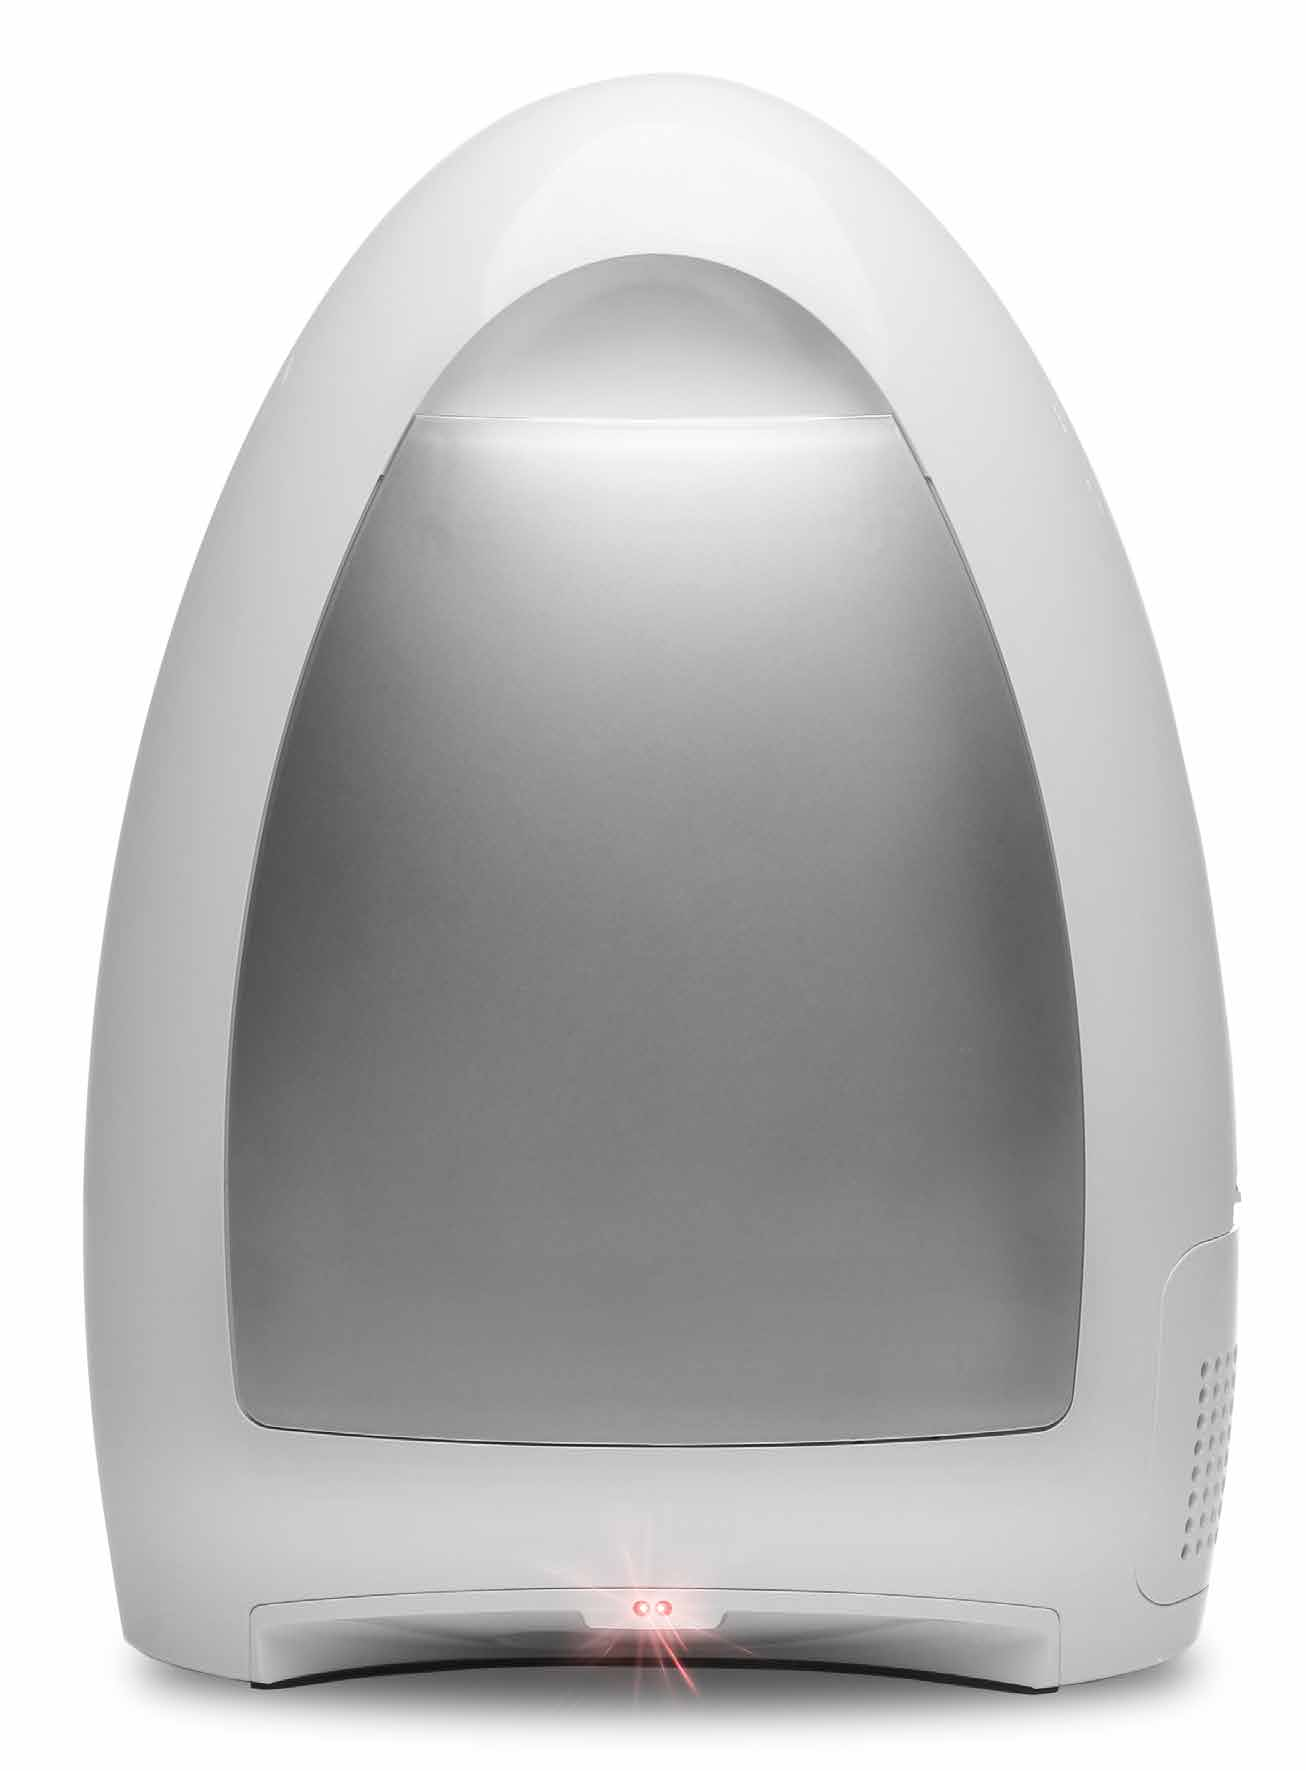
Your EyeVac Home has infrared sensors built into the unit that detect sweeping motions near the inlet. When you move debris toward the vacuum in Auto Mode, these sensors trigger the motor to automatically activate and pull in the debris. The sensors are positioned on the front of the unit, and they work by detecting changes in motion—not just static objects sitting nearby.
Difference between Auto Mode and Manual Mode
The EyeVac Home has two distinct operating modes controlled by the Power Button on the top back of the unit. In Auto Mode, the sensors actively monitor for sweeping motions and activate the vacuum automatically. In Manual Mode, the sensors are disabled, and you must press the Manual Activation button on the control panel each time you want to vacuum. Understanding which mode you’re in is critical—many people think their sensor isn’t working when they’re actually just in Manual Mode.
Why sensors fail suddenly
Sensors typically stop working for three main reasons: (1) the unit has been switched to Manual Mode, (2) dust and debris have accumulated on the sensor lenses, or (3) the EyeVac Home has entered a safety timeout mode after 30 seconds of inactivity. Less commonly, the Pre-Motor or Exhaust Filter has become so clogged that the unit’s safety system shuts down the sensors to prevent damage.
Verify You’re Actually In Auto Mode
Locating the power button on top/back
The Power Button is located on the top back of your EyeVac Home. This three-position button controls both power and mode selection. The button can be pressed to three distinct positions: Off (center), Auto (right), or Manual (left).
Cycling between Auto and Manual positions
To switch to Auto Mode, press the Power Button firmly to the Auto position on the right. You’ll feel the button click into place. If your sensors aren’t working, this is the first thing to check—many users accidentally switch to Manual Mode without realizing it. You can cycle between Auto and Manual positions without turning the unit off, so test both modes to confirm the button is responding.
Confirming the blue indicator light
When the Power Button is in either Auto or Manual position, a blue Indicator Light will illuminate on the unit. This blue light confirms that the EyeVac Home is powered on and ready. If you don’t see the blue light, the unit isn’t actually receiving power or the switch may be damaged. If the light is on but the sensors still aren’t responding, move to the sensor cleaning step below.
Clean Your Sensors Properly
Sensor location on the unit
The sensors are located on the front inlet area of your EyeVac Home. They’re small infrared lenses that need to be kept clean to detect motion accurately. Any dust, pet hair, or debris coating the sensor lenses will block the infrared signal and prevent Auto Mode from activating.
Using warm water and Q-tips for cleaning
Turn off and unplug the unit first. Using a warm water-dampened Q-tip, gently clean around the sensor area on the inlet. Use light pressure and circular motions—don’t scrub aggressively. Pay special attention to any visible dust, hair, or sticky residue. The sensors are hardy infrared components, but gentle cleaning is still the best approach. You may need 2-3 Q-tips to fully clean both sensors.
Critical: Never use alcohol or soap
Do not use alcohol, soap, or harsh cleaning chemicals on the sensors. These substances can damage the sensor components or leave residue that blocks the infrared signal. Warm water only—that’s the rule. If you’ve already used alcohol or soap, rinse thoroughly with distilled water and allow to dry completely.
Drying sensors completely before use
After cleaning, allow the sensor area to air dry completely for at least 30 minutes before powering the unit back on. Any moisture trapped on the sensors can prevent them from functioning properly. If you’re in a hurry, you can gently pat the area dry with a lint-free cloth and wait an additional 15 minutes to be safe.

Why Sensors Shut Off After 30 Seconds
Auto-shutoff feature to save power
The EyeVac Home has a built-in energy-saving feature: if the sensors don’t detect any motion for 30 seconds while in Auto Mode, the motor automatically shuts off. This prevents unnecessary power consumption and helps extend the life of your vacuum. The sensors themselves remain active, but the motor enters a low-power state. This is normal operation, not a malfunction.
Why the status indicator light blinks
When the 30-second timeout occurs, the Status Indicator Light will begin blinking instead of staying solid. This blinking pattern is your EyeVac Home’s way of telling you that the motor has been idle. It’s not an error code—it simply means the unit is waiting for new motion to be detected. If you see the blinking light and your sensors worked just moments before, this is exactly what’s happening.
Reactivating your vacuum after timeout
To reactivate the vacuum after the 30-second timeout, simply sweep debris toward the unit again. The moment the sensors detect motion, the motor will power back on automatically. You don’t need to press any buttons or power cycle the unit. The blinking status light will return to solid blue, and the vacuum will operate normally.
The Auto Mode vs Manual Mode Choice
When to use each mode for best results
Use Auto Mode when you’re actively sweeping and want the vacuum to respond automatically to your motions. This is the primary benefit of the EyeVac Home—hands-free operation. Use Manual Mode if you have small children or pets nearby (the manual button requires deliberate activation), if the sensors are malfunctioning while you get them repaired, or if you want complete control over when the motor runs. Neither mode is “better”—it depends on your situation.
Manual Activation button on control panel
In Manual Mode, you’ll activate the vacuum using the Manual Activation button on the control panel. Press this button when you want the motor to run. Hold it for as long as you need debris vacuumed, then release to stop. You can switch between Auto and Manual Mode at any time without powering the unit off—just press the Power Button to cycle to your preferred mode.
Switching modes without powering off
You don’t need to turn the EyeVac Home completely off to change modes. Simply press the Power Button and cycle it to the mode you want. The blue Indicator Light will remain on, and the unit will instantly switch modes. This makes it easy to test whether your issue is truly sensor-related or mode-related.
Advanced Troubleshooting for Sensors
Checking Pre-Motor and Exhaust Filter cleanliness
Dirty filters can actually prevent your sensors from working correctly—not because they damage the sensors, but because the EyeVac Home’s safety system shuts down sensor function when airflow is restricted. Start by cleaning both the Pre-Motor Filter and the Exhaust Filter. The Pre-Motor Filter is located inside the canister at the top. The Exhaust Filter is on the side of the unit and slides out easily.
To clean the Pre-Motor Filter: Turn off and unplug the unit, remove the canister, grasp the Filter Handle, and turn counter-clockwise to unlock. Rinse under running water and dry thoroughly before reinstalling. For the Exhaust Filter: Slide it out of the housing on the side of the unit, tap it gently against a trash can to remove debris, wash in mild soap and water, and dry completely before sliding it back in.
Why blocked filters affect sensor function
When filters become clogged, the motor has to work harder to pull air through the unit. The EyeVac Home monitors this increased strain and, as a safety measure, can disable the sensor system to prevent damage to internal components. This means your sensors might be working fine—the unit is just protecting itself. Cleaning the filters usually restores normal sensor operation within minutes.
When sensor replacement requires service
If you’ve cleaned the sensors with warm water and Q-tips, verified you’re in Auto Mode, cleaned the Pre-Motor and Exhaust Filters, allowed everything to dry, and the EyeVac Home sensors still aren’t detecting motion, the sensors themselves may be defective. At this point, contact JPaulJones, LP for a Service Request. Visit https://eyevac.com/connect/ and fill out the form, or call 512-485-3050. Do not attempt to replace the sensors yourself, as this will invalidate your warranty.
| Problem | Quick Fix Checklist | Expected Result |
|---|---|---|
| Sensor not detecting motion | 1. Switch to Auto Mode 2. Clean sensors with warm water and Q-tip 3. Clean Pre-Motor Filter 4. Clean Exhaust Filter 5. Allow all parts to dry | Auto mode activates when you sweep debris toward unit |
| Status light blinking | 1. Sweep debris toward unit 2. Or press Power Button to Off, wait 10 seconds, return to Auto | Status light returns to solid blue; motor reactivates |
| Auto mode keeps timing out | 1. Ensure Pre-Motor Filter is clean 2. Ensure Exhaust Filter is clean 3. Verify canister is not full | Unit stays active while you’re actively sweeping |

Frequently Asked Questions
How do I know if my EyeVac Home sensor is actually broken?
Your sensor is likely broken only if you’ve completed all the troubleshooting steps: (1) switched to Auto Mode, (2) cleaned the sensors with warm water and a Q-tip, (3) cleaned both the Pre-Motor and Exhaust Filters, (4) allowed everything to dry completely, and (5) tested the unit multiple times with fresh debris. If the blue Indicator Light is on but the motor never activates when you sweep debris toward the unit, contact JPaulJones, LP for warranty service at https://eyevac.com/connect/.
Why does my EyeVac Home auto mode stop working after just a few minutes?
This is almost always caused by the 30-second timeout feature. If no motion is detected for 30 seconds, the motor shuts off and the Status Indicator Light blinks. Simply sweep debris toward the unit again to reactivate it. If the motor won’t reactivate even when you’re actively sweeping, your filters likely need cleaning, or the canister may be full. Press the Power Button to Off, empty the canister, clean the Pre-Motor and Exhaust Filters, and try again.
Can I use alcohol to clean the sensors faster?
No—do not use alcohol, soap, or any harsh chemicals to clean the sensors. These substances can damage the infrared sensor components or leave residue that blocks the signal. Use only warm water on a damp Q-tip. Proper cleaning takes just a few minutes, and it’s worth the extra care to keep your sensors functioning.
What’s the difference between the blue Indicator Light and the Canister Full Indicator?
The blue Indicator Light shows that the EyeVac Home is powered on (in Auto or Manual Mode). When this light blinks, it means the motor has timed out after 30 seconds of inactivity. The Canister Full Indicator is a separate light that turns on when your debris canister is full and needs to be emptied. These are two different lights monitoring two different systems.
Do I need to replace my sensors if they haven’t worked in a month?
Not necessarily. If your unit has been sitting unused for a month, dust may have accumulated heavily on the sensors and filters. Start by cleaning the sensors with warm water and Q-tips, then clean both filters thoroughly and allow everything to dry completely. Many users find that a thorough cleaning restores full functionality. If the sensors still don’t work after this deep clean, then contact JPaulJones, LP for warranty service.