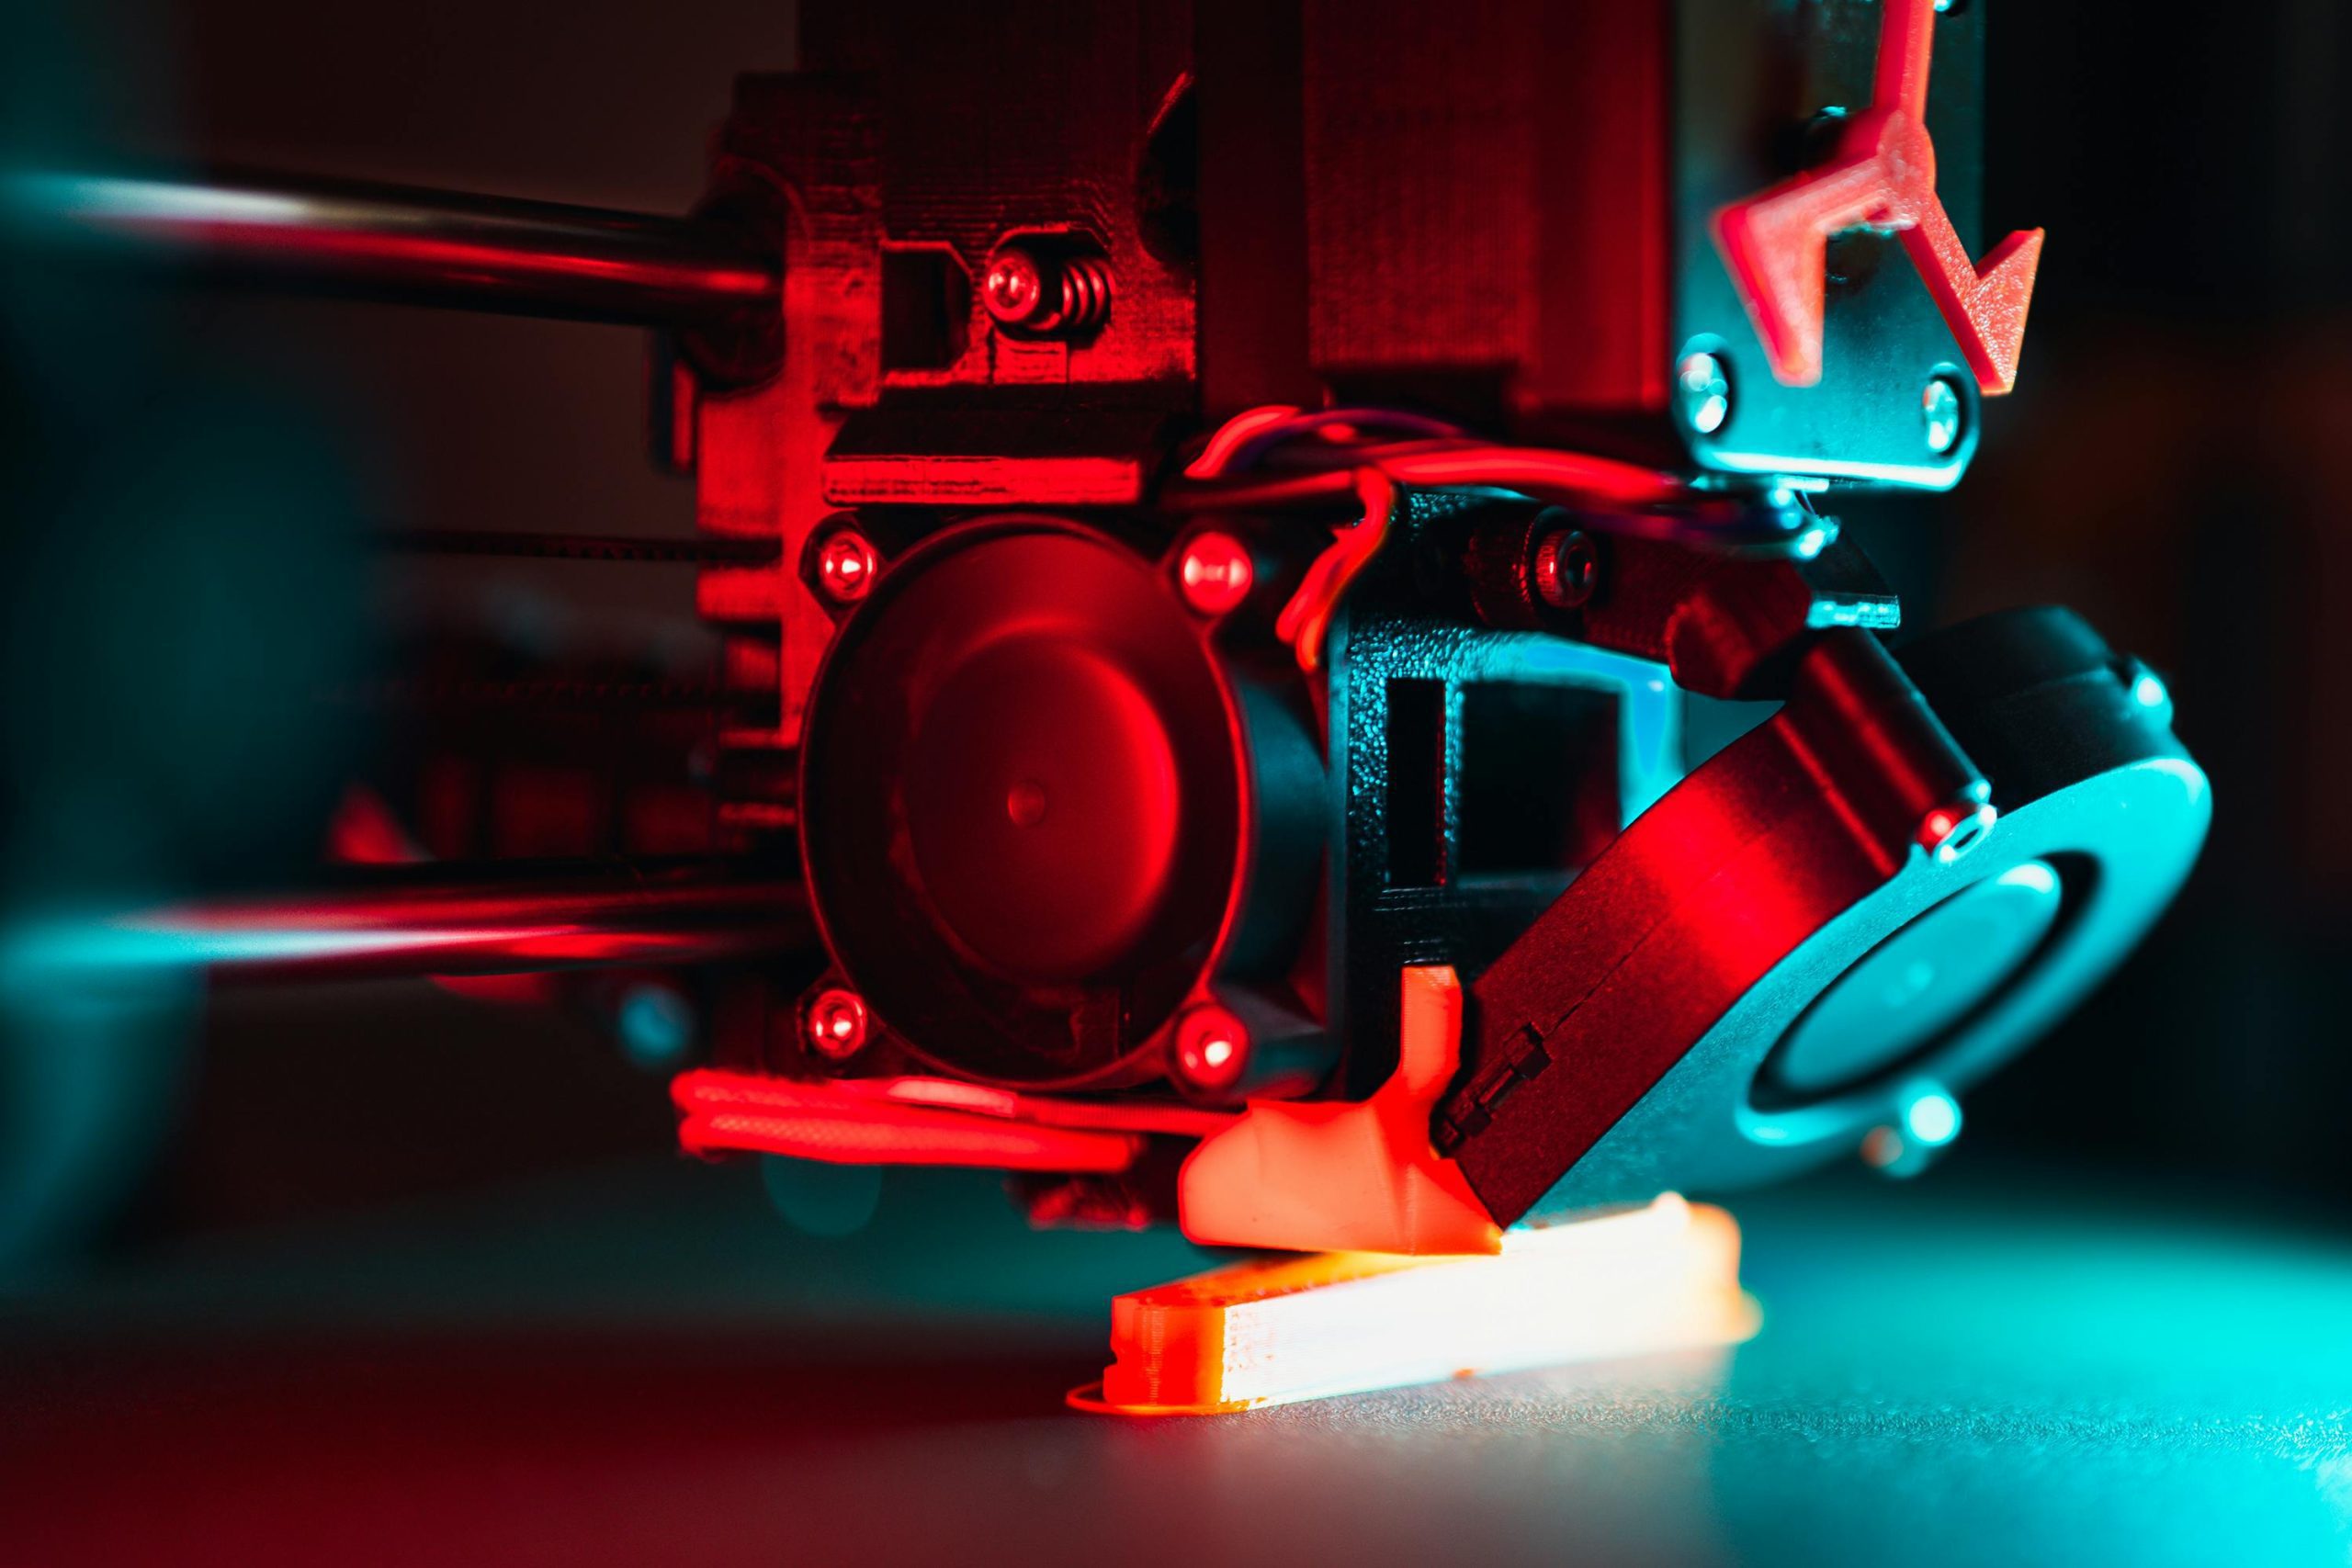
Getting the right eSUN PLA+ print temperature settings is essential for producing strong, smooth parts without warping or layer adhesion problems. This guide covers the exact extruder and bed temperatures from eSUN’s technical specifications, plus the complete parameter setup you need for your FDM printer.
eSUN PLA+ Optimal Temperature Range
Targeted Intent: eSUN PLA+ Print Temperature Settings
Users searching for “eSUN PLA+ print temperature settings” are typically troubleshooting a specific issue or seeking a reliable starting point for a new spool. Their intent is highly practical. For example, one user reported persistent layer separation on a functional bracket until they increased their nozzle temperature from 205°C to 220°C, aligning with PLA+’s need for higher heat for optimal layer bonding. This search often comes after failed prints with standard PLA profiles, highlighting the need to adjust expectations. The core goal is to achieve dimensional accuracy and strength, making the precise temperature range the critical piece of information they need to act on immediately.
Recommended Extruder Temperature (210-230°C)
eSUN PLA+ requires an extruder temperature between 210°C and 230°C for reliable printing. This range is higher than standard PLA (typically 190-210°C) because PLA+ contains toughening additives that improve impact resistance and layer bonding. Starting at 210°C is the safe entry point—this temperature ensures adequate material flow without excessive degradation.
If you’re printing fine details or small features, stick with the lower end at 210-215°C. The cooler temperature reduces stringing and improves surface definition. For larger parts with thick walls or when printing at maximum speed (approaching 100 mm/s), increase to 220-230°C to prevent under-extrusion and poor layer adhesion.
Always adjust temperature in 5°C increments and run a fresh test print before committing to a full job. Different printer brands and nozzle sizes may require slight adjustments—some users with 0.6mm nozzles run 5-10°C hotter than those with 0.4mm nozzles.
Why Temperature Range Matters for PLA+
Temperature directly affects the mechanical properties of your finished part. eSUN’s PLA+ achieves a tensile strength of 63 MPa and flexural strength of 74 MPa because the material reaches optimal crystallinity within this temperature window. Too cold (below 210°C), and molecular chains don’t bond completely between layers, resulting in weak parts that snap under stress. Too hot (above 235°C), and you risk material degradation, discoloration, and loss of the smooth surface finish that PLA+ is known for.
The material’s IZOD impact strength (9 kJ/m²) depends heavily on consistent layer fusion. This is why eSUN specifies such a tight range—every 5°C adjustment changes how the polymer chains interlink during deposition.
Build Platform Temperature Setup
Standard Build Plate Temperature (45-60°C)
Set your build platform (heated bed) to 45-60°C according to eSUN’s specifications. Most users find success at 50°C as a starting point—warm enough to prevent warping on larger prints, but cool enough that the part releases cleanly once cooled.
Lower temperatures (45°C) work well for small decorative parts under 50g. These cooler settings reduce adhesion slightly, making removal easier without damaging the base layer. If you’re printing large functional parts or parts with thin walls, move to 55-60°C to lock the first layer down firmly. This becomes critical on unheated beds or when using a textured build surface.
PLA+ has a heat distortion temperature of 53°C according to eSUN’s thermal testing, meaning the material can soften near your bed’s surface temperature. This is actually beneficial—it helps the first layer bond mechanically to the platform without requiring glue or special coatings. Just ensure your bed is level and clean before every print.
Platform Temperature Best Practices
Allow your heated bed to stabilize for 2-3 minutes before starting the print. If your printer’s firmware allows it, set the bed to temperature while the extruder heats separately—this saves time without sacrificing adhesion. Some modern printers heat both simultaneously, which is fine.
Keep your build surface clean between prints. Dust, old plastic residue, or fingerprints reduce adhesion and cause first-layer problems. For PLA+, a simple rubdown with isopropyl alcohol on a lint-free cloth is sufficient. Avoid excessive roughing of glass beds—PLA+ adheres reasonably well to clean glass without aggressive texture.
Print Speed and Fan Configuration
Optimal Printing Speed (40-100 mm/s)
eSUN specifies a printing speed range of 40-100 mm/s, but this isn’t a simple rule. The test conditions show eSUN validates the material at 40 mm/s—this is the “safe speed” where everything works reliably. You can go faster, but trade-offs appear:
| Print Speed | Best For | Trade-offs |
|---|---|---|
| 40-50 mm/s | Fine details, functional parts, maximum strength | Longer print times |
| 60-80 mm/s | Balanced speed and quality, most prints | Slight layer visible lines |
| 90-100 mm/s | Large, simple geometry, prototypes | Potential under-extrusion, weaker parts |
For mechanical parts where strength matters (gears, brackets, mounts), stay at 40-60 mm/s. Your part will have better layer fusion and hit those 63 MPa tensile strength specs. For decorative prints or rapid prototypes, 80-100 mm/s is acceptable if your extruder can keep pace.
Fan Speed Settings for Best Surface Quality
eSUN’s specification sheet calls for 100% fan speed during printing. This is mandatory—PLA+ benefits significantly from active cooling to achieve its characteristic smooth surface. The fan cools the deposited material immediately after extrusion, preventing the layer from sagging or developing visible ridge patterns.
Never reduce fan speed below 80% unless you’re printing very thick-walled parts (over 10mm) where cooling creates internal stress. Full fan speed (100%) is standard for PLA+ and produces the cleanest surfaces. The rapid cooling also improves print speed reliability—cooler plastic solidifies faster, allowing the nozzle to move to the next layer without distorting the previous one.
Layer Configuration for Maximum Strength
Outline/Perimeter Shell Settings (4 walls)
Use 4 outline/perimeter shells as specified in eSUN’s parameters. These outer walls define your part’s exterior and carry structural load in functional prints. Four walls (typically 1.6-2.0mm thick with a 0.4mm nozzle) provide the right balance between strength and material use.
Three walls are acceptable for lightweight prototypes, but functional parts—especially those with mechanical stress (brackets, clips, clips)—need the full four walls. This shell thickness ensures you hit the material’s full tensile and flexural strength ratings. Less material here becomes a weak point where parts fail first under load.
Top and Bottom Layer Requirements
Set 4 top and bottom layers to create a solid skin that resists impact and prevents infill from showing through. eSUN validates these specifications with 4 layers on both faces. This creates a 1.6mm dense shell on top and bottom (with 0.4mm layers), which provides:
- Impact resistance via the IZOD rating (9 kJ/m²)
- Waterproofing if needed for functional parts
- Clean aesthetic appearance without visible infill pattern
If printing parts that won’t see mechanical stress, you could reduce to 3 layers and save material. For anything load-bearing or exposed to impact, keep all 4. This is especially important with PLA+, which is specifically formulated for high impact resistance—you need the material density to activate that property.
Infill Percentage and Density
Standard 20% Infill Recommendation
eSUN’s baseline specification calls for 20% infill, which is the standard starting point for general-purpose parts. At 20% infill with 4 shells, you achieve excellent strength-to-weight ratio. For decorative prints (COSPLAY costumes, display models), this infill level provides enough internal structure to prevent warping while keeping the part lightweight.
The mechanical properties listed in eSUN’s data sheet (63 MPa tensile, 74 MPa flexural, 9 kJ/m² impact) are derived from injection molded specimens, but FDM parts with proper parameters come close. With 4 walls, 4 top/bottom layers, and 20% infill, you’re maximizing the material’s impact resistance—one of PLA+’s key selling points.
When to Adjust Infill for Different Parts
Increase infill percentage for:
- Load-bearing parts (brackets, mounts, hinges) → 30-40% infill
- Parts with thin walls (under 2mm) → 30% infill to prevent flexing
- Parts experiencing vibration or impact (robot chassis, mechanical parts) → 40-50% infill
Decrease infill for:
- Lightweight prototypes → 10-15% infill
- Large display pieces → 10% infill (saves filament and print time)
- Non-structural decorative parts → 10% infill
The 20% baseline works for 90% of prints. Adjust only when you have a specific reason.
Slicing Software Optimization
Z Seam Alignment Best Practices
eSUN’s precautions section explicitly states: “turn on the Z seam alignment and starting point alignment functions” when slicing. This is not optional—it’s a must-do step for clean, professional results.
Z seam alignment means your slicer places the seam (where each layer’s perimeter starts and ends) at the same X/Y position for every layer. This concentrates any visible line at one edge of your part instead of creating random marks scattered across the surface. Position the seam on the back or least-visible side of your part.
Most slicers (Cura, PrusaSlicer, Simplify3D) offer this under different names—”Z seam position,” “seam corner preference,” or “align seams.” Enable it before slicing any PLA+ print. The difference in surface quality is dramatic.
Reducing Print Speed for Complex Geometry
eSUN’s precautions also recommend: “appropriately reduce the printing speed to achieve the best printing effect” when dealing with complex geometry. This means:
- Reduce speed by 20-30% when printing parts with thin walls, sharp corners, or detailed features
- Turn off Z-axis lift between perimeter and infill (reduces unnecessary travel moves)
- Optimize the printing path so the nozzle moves logically from one section to the next without long jumps
For example, if your standard speed is 60 mm/s, drop to 40-50 mm/s for intricate parts. This gives the extruder time to deposit material cleanly and allows the cooling fan to solidify each layer properly before the next one lands on top.
Avoid passing through the shell when idling means don’t let the nozzle travel through empty space inside your part’s perimeter during non-print moves. Use your slicer’s “avoid perimeters during travel” option. This prevents accidental collisions and reduces stringing.
Complete Print Parameters Reference Table
| Parameter | Specification | Notes |
|---|---|---|
| Extruder Temperature | 210-230°C | Start at 210°C for fine details; 220-230°C for large parts or high speed |
| Build Platform Temperature | 45-60°C | 50°C is the safe starting point; 45°C for small parts, 55-60°C for large |
| Printing Speed | 40-100 mm/s | 40 mm/s is baseline; reduce for complex geometry, up to 100 mm/s for simple shapes |
| Fan Speed | 100% | Always 100% for PLA+; mandatory for smooth surface quality |
| Outline Shells | 4 | Minimum for structural parts; can reduce to 3 for non-load-bearing prints |
| Top/Bottom Layers | 4 | Ensures waterproofing and impact resistance |
| Infill Percentage | 20% | Baseline; increase to 30-40% for load-bearing parts |
| Nozzle Size | 0.4mm (standard) | Works with any standard nozzle; larger nozzles may need +5-10°C extruder temp |
Conclusion: Getting Consistent Results with eSUN PLA+
Mastering eSUN PLA+ print temperature settings and the complete parameter set eliminates most printing failures. Start with 210°C extruder, 50°C bed, and the baseline speeds and layer counts shown here. Run one test print to dial in your specific printer, then keep detailed notes—every printer has slightly different thermal behavior.
The material’s 20% elongation at break and 9 kJ/m² impact strength mean you’re working with a genuinely tough polymer. Treat it accordingly: proper temperature fusion, full fan cooling, and adequate wall thickness unlock those mechanical properties. Skip any of these steps, and you’ll get weak, brittle parts that don’t match the material’s potential.
FAQ
What’s the difference between PLA+ and regular PLA in terms of temperature?
PLA+ requires 210-230°C versus 190-210°C for standard PLA. The toughening additives in PLA+ need higher heat to flow and bond properly. Using standard PLA temps on PLA+ results in under-extrusion, weak layer adhesion, and parts that snap easily. The higher temp is non-negotiable for hitting PLA+’s impact resistance specs.
Can I print eSUN PLA+ without a heated bed?
Not recommended. While PLA+ has lower warping tendency than ABS or PETG, the 45-60°C bed temperature improves first-layer adhesion significantly and prevents edge curling on larger prints. If you must print without a heated bed, use a build plate adhesive (glue stick or PEI sheet) and accept slower print speed (40-50 mm/s only).
Why does my eSUN PLA+ part feel brittle even with correct temperatures?
Most likely cause: insufficient infill or too few wall/layer count. Verify you’re using at least 4 walls, 4 top/bottom layers, and 20% infill as specified. Second cause: printing too fast (over 80 mm/s for complex geometry) prevents proper layer fusion. Third cause: print temperature too low—ensure it’s at least 215°C if you started at 210°C. Re-test with increased temp.
Is 100% fan speed really necessary for PLA+?
Yes, according to eSUN’s specifications. The material’s smooth surface finish and clean layer definition depend on immediate cooling. Full fan speed also prevents the part from expanding unevenly during printing, which reduces layer misalignment and stringing. Never use less than 80%, and default to 100%.
What’s the maximum bed temperature I should use with eSUN PLA+?
Stay at 60°C or below. PLA+ has a heat distortion temperature of 53°C, meaning it softens around this point. Going above 60°C risks the part deforming on the platform during printing or adhesion becoming too strong (making removal difficult). If you have adhesion problems, address them with a cleaner bed or higher extruder temperature, not by raising bed heat.