The ICM1241 ice maker cleaning and maintenance routine directly impacts ice quality, food safety, and machine longevity. Mineral buildup, mold growth, and bacterial contamination are common problems that develop when you skip regular cleaning—but they’re entirely preventable with the right approach. This guide walks you through every cleaning task the manual specifies, from daily water changes to deep component cleaning, using only safe methods approved for your machine.
Why Regular Cleaning Matters for Ice Quality
Health risks of dirty ice maker water systems
The ICM1241 manual explicitly warns: “Clean the surfaces regularly that can come in contact with food and accessible drainage systems.” Stagnant water in your ice maker’s tank and internal lines becomes a breeding ground for bacteria. According to the operating guidelines, if the ice maker has not been used for 48 hours, you must clean the water tank. If water hasn’t been drawn from a connected water supply for five days, flush the entire water system. These aren’t suggestions—they’re health codes built into the manual to prevent food contamination.
The water tank holds 1.5L of water, and if that water sits idle, bacteria multiply rapidly. This directly affects every ice cube you make. Children are at higher risk from contaminated ice, which is why the manual specifically notes: “Children should be supervised to ensure that they do not play with the appliance.”
How mineral buildup affects ICM1241 performance
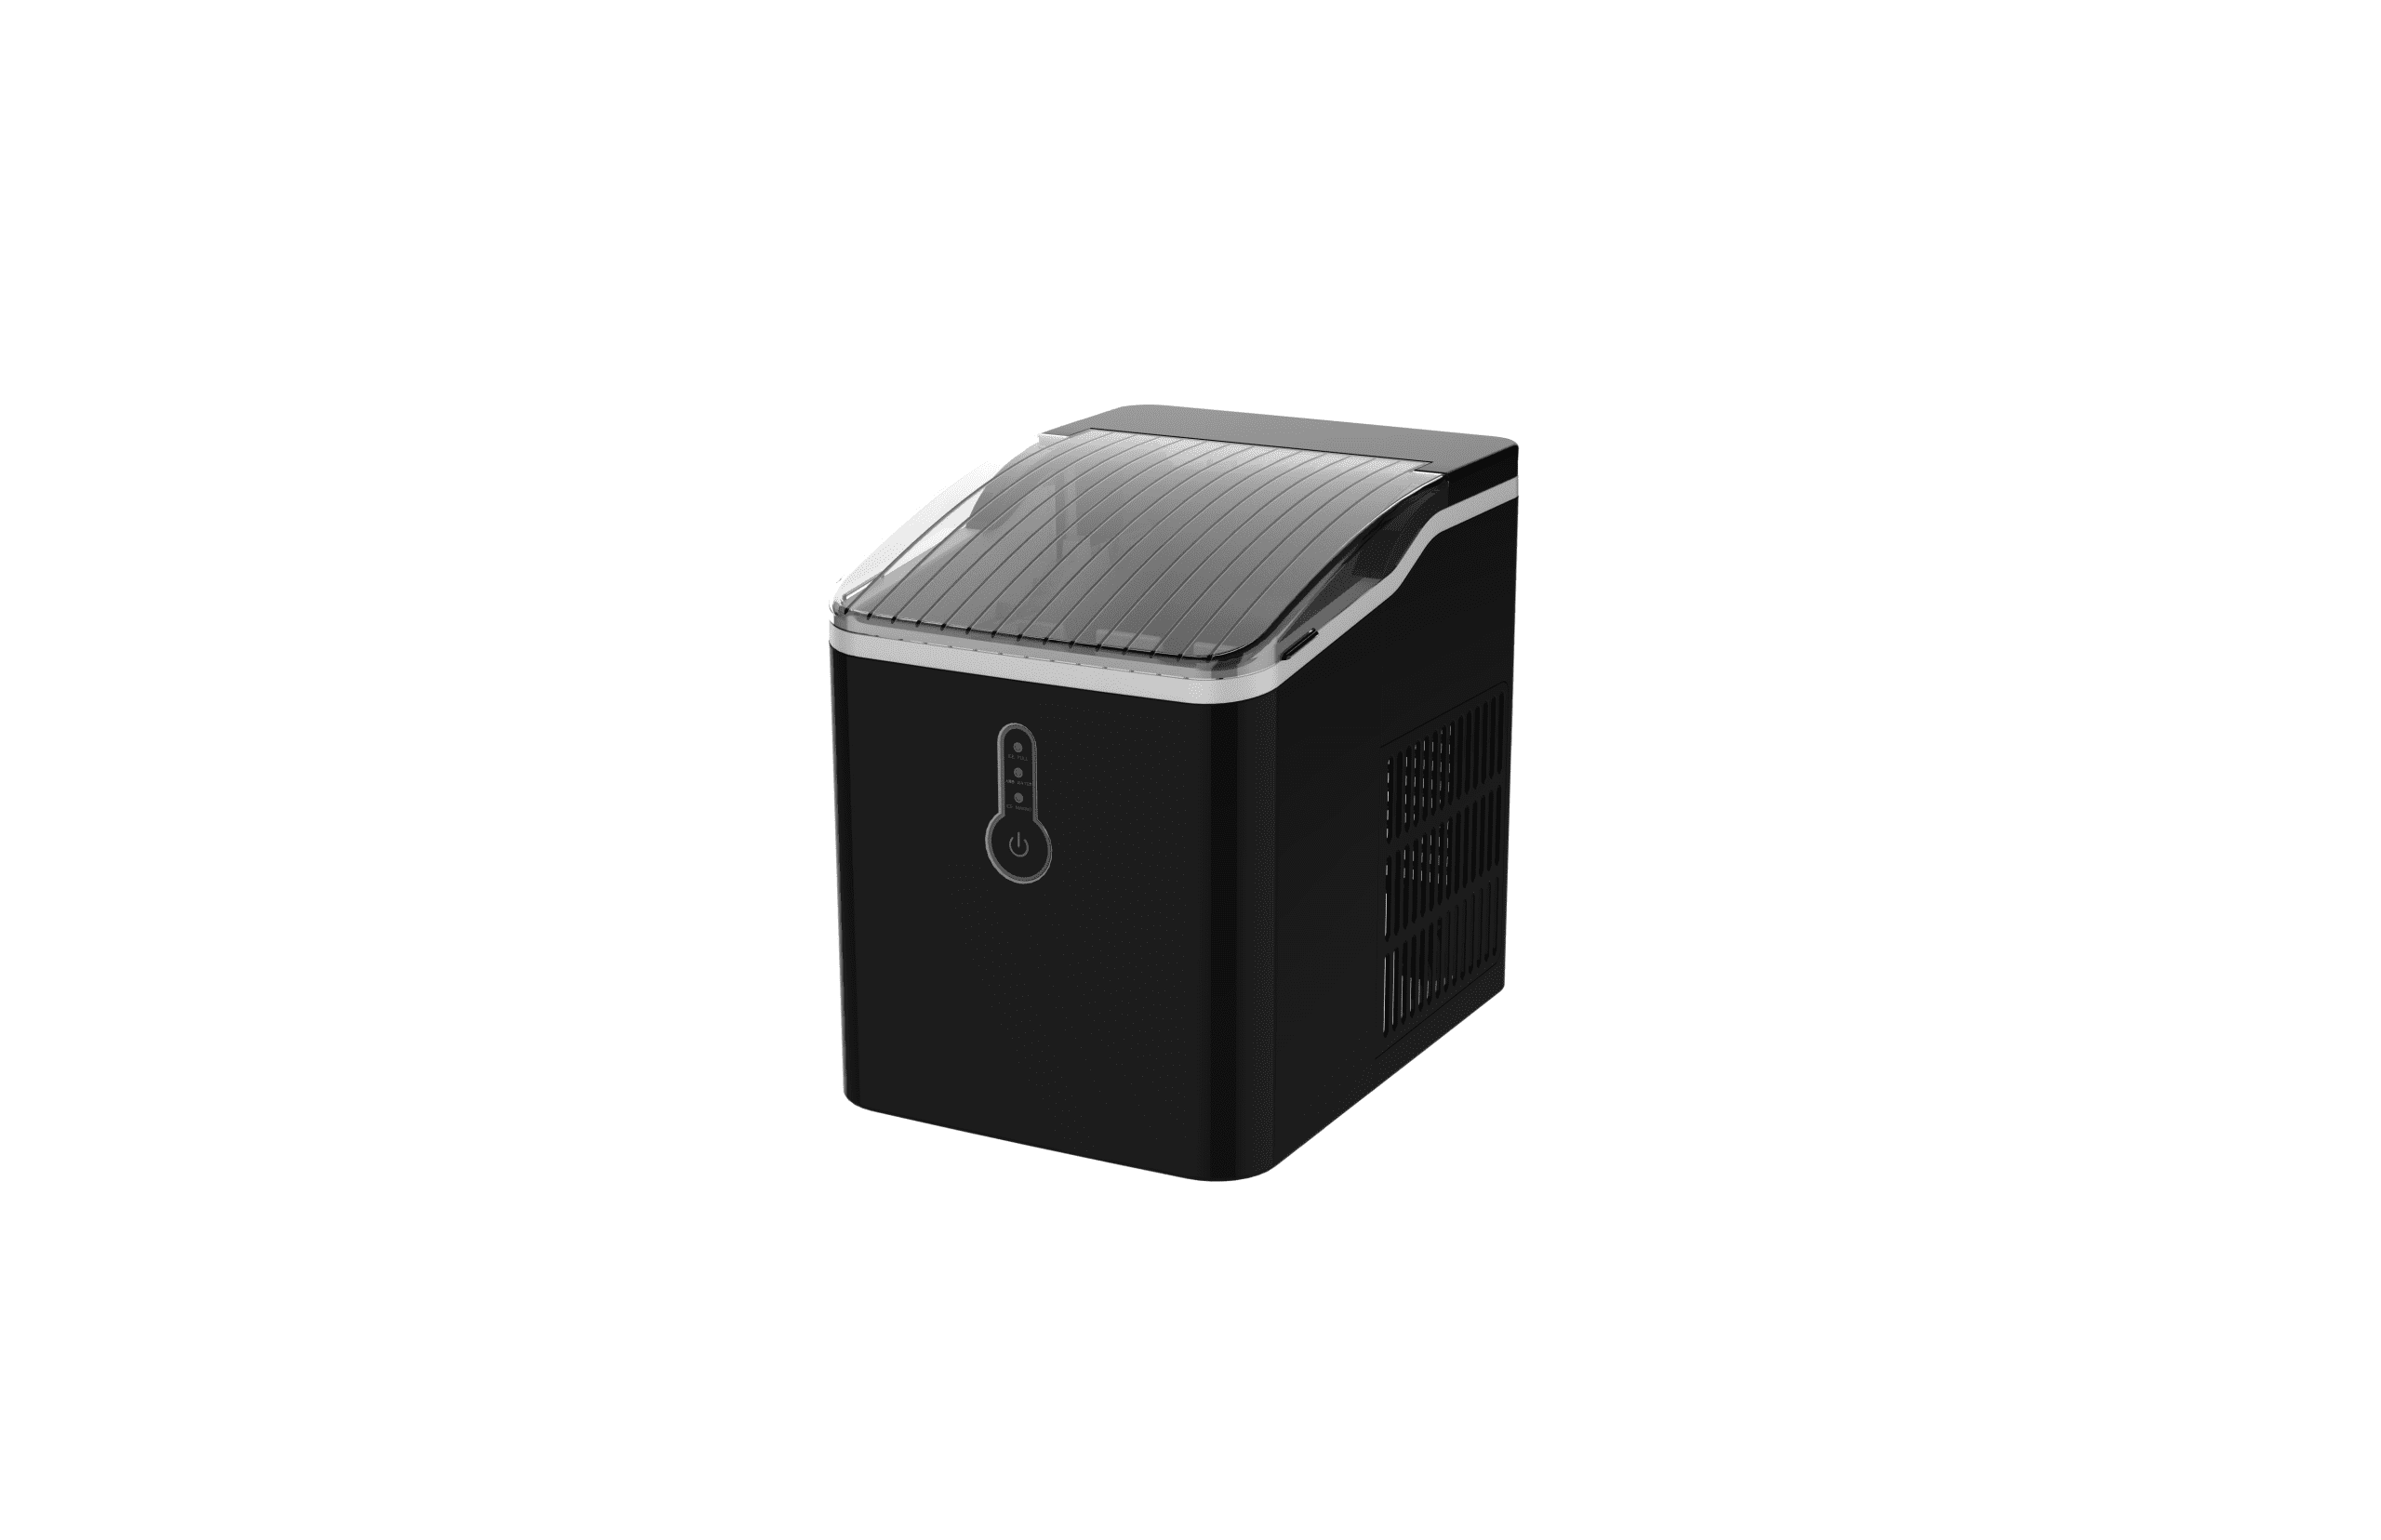
The ICM1241 produces 12kg of ice per 24 hours with an ice storage capacity of 1.5L/600g. Mineral deposits from tap water coat the evaporator, water box, and ice tray—reducing freezing efficiency. The manual is clear on this point: “Distilled water is not allowed. Mineral water is recommended.” This seems contradictory at first, but it makes sense: the minerals in spring or mineral water actually improve ice clarity. Pure distilled water, however, should never be used because it can damage the sealing system over time.
Mineral buildup also clogs the pump and reduces water flow, triggering the ADD WATER warning light even when water is present. Regular cleaning prevents this performance degradation.
Daily Water Replacement Schedule
Why changing water daily ensures clean ice
The cleaning guidance states plainly: “To ensure the cleanness of ice, please change the water at least once a day.” This is non-negotiable for food safety. Fresh water means fewer bacteria and minerals accumulating in the tank. Even if your ice maker isn’t running constantly, you should empty and refill the 1.5L water tank daily.
The reason is simple: water left in the tank for extended periods becomes contaminated. The manual warns that standing idle machines may trigger air blockage in the pump, which requires restarting. But more importantly, stale water makes poor ice. Daily changes keep your ice tasting fresh and your system running smoothly.
Proper water tank emptying procedure
Open the transparent lid and remove the ice collecting basket. Look at the water reservoir—there’s a MAX fill line marked on the inside. The manual specifies: “The water should not exceed the MAX position.” If water does exceed this line, you need to “open the bottom drain plug, release the excessive water, and cover it with the transparent cover.”
To properly empty the tank: unplug the unit first (always unplug before cleaning), locate the drain plug at the bottom rear of the machine, place a shallow pan underneath, and open it fully. Let all water drain completely. This prevents bacteria from sitting in residual water. Once drained, rinse the interior of the tank with fresh water before refilling.
Deep Cleaning Components Weekly
Parts that need weekly cleaning: inner liner, ice tray, water box, shovel, evaporator
The manual identifies five critical components that require frequent cleaning:
| Component | Function | Why It Needs Cleaning |
|---|---|---|
| Inner liner | Interior chamber where ice forms | Mineral and bacteria accumulation |
| Ice collecting tray | Catches finished ice cubes | Mineral deposits, mold growth |
| Water box | Holds water before freezing cycle | Algae growth, sediment buildup |
| Ice shovel | Removes frozen ice from evaporator | Stuck ice debris, bacterial growth |
| Evaporator | Freezes water into ice cubes | Mineral scale reduces freezing efficiency |

Safe removal and reinstallation steps
Always unplug the unit before touching any internal components. Here’s the safe sequence:
Removal: Open the transparent lid and lift out the ice collecting basket (removable). Next, locate the water box—it sits inside the main chamber and lifts straight up. The ice shovel is mounted on a rod; gently wiggle it side-to-side and lift to detach. The inner liner is typically one piece; check if it lifts out or if you’re cleaning in place. The evaporator is the coiled metal part at the top—do not remove this yourself; clean it in place with your vinegar solution using a soft cloth.
Cleaning: Take the removable parts (basket, water box, shovel) to your sink and soak them in your diluted vinegar solution (described below) for 15-20 minutes. Use a soft cloth or soft-bristled brush to gently scrub away mineral deposits. Rinse thoroughly under running water until the vinegar smell is completely gone.
Reinstallation: Dry all parts completely with a clean cloth. Reinstall in reverse order: shovel first (align the rod and press firmly), then water box (align guides and lower straight down), then ice collecting basket (slides into grooves on the sides). Verify everything sits flush and doesn’t wiggle.
Vinegar Solution Cleaning Method
Why diluted water-vinegar solution is recommended
The manual states: “Use a diluted solution of water and vinegar to clean the inside and the outside surfaces of the ice maker.” Vinegar works because it’s a mild acid that dissolves mineral deposits without harming plastic or metal components. It’s food-safe, non-toxic, and leaves no chemical residue.
The ideal ratio is 1 part white vinegar to 3 parts water (25% vinegar solution). This strength is strong enough to break down calcium and magnesium deposits but gentle enough that it won’t corrode seals or gaskets. Mix fresh solution for each cleaning session.
Chemicals to NEVER use on ICM1241
The manual is explicit: “Do not spray Ice maker with chemicals or diluted agents, such as acids, gasoline, or oil.” Despite the warning against “acids,” this refers to strong commercial descaling acids—vinegar (acetic acid) is safe because it’s dilute and food-grade. But these are absolutely forbidden:
- Gasoline or petroleum products: Will dissolve plastic components and damage seals
- Machine oil or mineral oil: Leaves residue that contaminates ice
- Bleach solutions: Corrodes metal and leaves toxic residue
- Abrasive cleaners or scouring powders: Scratch internal surfaces
- Detergents or soap: The manual specifies “Never clean the product with detergents or stiff instruments”
- Strong commercial descalers: Can damage the compressor and refrigerant lines
Stick to vinegar and water only. After cleaning, “Rinse thoroughly before starting”—this step is critical to remove all vinegar smell and residue.
Preventing Mold Growth During Storage
Steps for long-term storage: drain, clean, dry, leave door open
The manual addresses this specific scenario: “If the refrigerating appliance is left empty for long periods, switch off, defrost, clean, dry, and leave the door open to prevent molds from growing within the appliance.” This applies whether you’re storing the unit for a season or it’s sitting unused during a vacation.
Follow these steps in order:
1. Switch off and unplug: Turn off the power button and disconnect from the wall outlet.
2. Defrost and drain: Open the bottom drain plug completely and let all water drain into a pan. This removes any standing water where mold spores can grow. Leave the drain plug open.
3. Clean interior: Use your diluted vinegar solution to wipe down the inner liner, evaporator, water box, and all accessible surfaces. Pay special attention to corners and crevices where moisture hides. Use a soft cloth, not a brush, to avoid scratching.
4. Dry thoroughly: Wipe down all interior surfaces with clean, dry towels. Open the transparent lid fully and prop it open so air circulates inside. Leave it open for at least 4-6 hours (or overnight) so interior moisture evaporates completely.
5. Leave door/lid open: Store the unit with the transparent lid propped open. This allows air circulation and prevents moisture and mold from developing in the sealed chamber. Never store with the lid closed.
Why unsealed ice makers develop mold
Mold thrives in three conditions: moisture, darkness, and stagnant air. A sealed ice maker with residual water is a perfect mold incubator. The manual recognizes this, which is why it specifically instructs you to leave the door open during storage. If you seal the unit without drying it completely, mold will develop within days and spread to every internal surface, creating a black or greenish coating that’s difficult to remove and contaminates ice permanently.
Water Tank Cleaning After 48-Hour Idle
Health codes for water tank sanitation
The manual includes a direct health code requirement: “Clean water tanks if they have not been used for 48 hours; flush the water system connected to a water supply if water has not been drawn for five days.” These timeframes aren’t arbitrary—they’re based on public health standards for preventing Legionella and other waterborne bacteria from colonizing stagnant water systems.
After 48 hours of no use, drain and refill the tank completely. This removes any bacteria that began growing. If your unit has a connected water line (some models support this), and no water has been drawn for 5 days, you must flush the entire system by running several ice cycles to push fresh water through all lines.
Rinsing system when water hasn’t been drawn in 5 days
If your ICM1241 sits unused for 5+ days, the water in the tank and internal lines becomes stale. Here’s the rinsing procedure:
1. Drain the tank: Open the bottom drain plug and let all old water flow out completely.
2. Refill with fresh water: Close the drain plug and fill the 1.5L tank up to the MAX line with fresh spring or mineral water.
3. Run 2-3 cycles without collecting ice: Press the power button and let the machine run two complete ice-making cycles. The goal is to push fresh water through the pump, evaporator, and all lines. Discard the first ice cubes produced—they may taste stale or contain residual sediment.
4. Check water flow: After 2-3 cycles, if the ADD WATER light flashes but you know water is present, this indicates air is still trapped in the pump. Press the power button to restart; the manual notes this is normal after long idle periods.
5. Only after flushing, collect ice: Once fresh water has cycled through, the ice is safe to use.
Mineral Water vs. Distilled Water Explained
Why pure distilled water is prohibited
The manual is unambiguous: “Pure water is not allowed to be used on this unit; instead, spring water is recommended.” And in the operating instructions: “Distilled water is not allowed. Mineral water is recommended.” This appears twice for emphasis.
Why the ban on distilled water? Distilled water is completely free of minerals, which causes two problems: First, it’s corrosive to the internal sealing materials and gaskets used in the ICM1241. Without minerals as a buffer, pure water attacks the rubber and plastic components. Second, distilled water can cause the ice to form with cavities or cracks because the freezing process is too aggressive without mineral content to regulate it.
Benefits of spring/mineral water for ice clarity
Spring water and mineral water contain dissolved minerals like calcium and magnesium. The manual notes: “Due to fast freezing, ice cubes may be opaque. This is because of the air trapped in the water, which does not affect the quality or the taste of the ice.” Minerals actually help prevent this opacity by allowing water to freeze more evenly.
Additionally, mineral water protects your machine’s seals and gaskets, extending the lifespan of the ICM1241. The minerals are present in such small quantities that they don’t cause noticeable taste issues, and your regular vinegar cleaning removes mineral buildup before it becomes a problem.
Use only spring water, mineral water, or filtered tap water. Never use distilled, deionized, or reverse-osmosis water.

Post-Cleaning Startup and Testing
Rinse thoroughly before restarting ICM1241
After your vinegar cleaning session, this step is critical: “Rinse thoroughly before starting.” Any vinegar residue left inside will contaminate the first batch of ice and can affect the seals over time.
Here’s the rinsing protocol:
1. Wipe all interior surfaces: Use a clean, damp cloth (water only, no vinegar) and wipe down the inner liner, ice tray, water box, shovel, and visible portions of the evaporator. Repeat with a fresh damp cloth until you smell no vinegar.
2. Flush the water lines: Pour about 500ml of fresh water into the tank and plug in the unit (but don’t press power yet). Let gravity flow water through the lines for 30 seconds, then unplug and drain via the bottom plug. Repeat this flush twice more.
3. Dry thoroughly: Wipe down all accessible interior surfaces with a dry cloth to remove excess water. Leave the transparent lid open for 5-10 minutes so air dries the chamber.
4. Refill with fresh water: Close the transparent lid and fill the tank to the MAX line with fresh spring water.
How to verify clean system is working correctly
Now you can restart safely:
1. Plug in and press power: The ICE MAKING indicator light should turn on steady (not flashing). You should hear the compressor start humming within seconds.
2. First cycle produces test ice: The machine will run its first cycle, which typically takes 8 minutes for the ICM1241 to produce nine bullet-shaped ice cubes. The manual notes: “Nine pcs ice can be made in eight minutes.”
3. Inspect first batch: When the ice ejects into the tray, examine it for discoloration, vinegar smell, or cloudiness. If the ice looks normal and smells fresh, your cleaning was successful.
4. Monitor indicator lights: During operation, the ICE MAKING light should stay solid. If ADD WATER flashes immediately, you either didn’t refill the tank or air is trapped (press power button to restart). If ICE FULL flashes after the first batch, the ice basket is properly detecting ice—good sign.
5. Run 2-3 cycles before consuming ice: To be extra cautious, discard the ice from the first 2-3 cycles and collect ice starting from the fourth cycle. This ensures any residual vinegar or cleaning solution is completely flushed from the system.
Once you’ve confirmed normal operation with good-looking, fresh-smelling ice, your ICM1241 is clean and ready for regular use. Return to your daily water changes and weekly deep cleaning to maintain performance.
Maintenance Schedule Summary
Create a simple routine to stay on top of ICM1241 cleaning and maintenance:
| Frequency | Task |
|---|---|
| Daily | Change water in tank; empty and refill to MAX line |
| Weekly | Deep clean: ice tray, water box, shovel, inner liner with diluted vinegar solution; wipe evaporator |
| After 48-hour idle | Drain tank completely, clean with vinegar solution, refill with fresh water |
| After 5-day idle | Flush water system by running 2-3 ice cycles, discard ice from first cycles |
| Long-term storage | Defrost, drain, clean, dry, leave lid open |
FAQ
Can I use tap water in my ICM1241, or do I absolutely need mineral water?
The manual specifically prohibits distilled water and recommends mineral or spring water. Filtered tap water is acceptable if it contains some natural minerals. Avoid RO (reverse osmosis) water and deionized water—these are too pure and will corrode seals. Standard tap water is fine if you don’t have hard water issues; if your tap water is very hard (white mineral deposits visible), use bottled spring water instead to reduce mineral buildup requiring frequent cleaning.
How often should I clean my ice maker if I use it every day?
Change the water daily without fail. This is mandatory per the manual. Perform deep cleaning of internal components (ice tray, water box, shovel, evaporator) weekly using your diluted vinegar solution. If you notice cloudiness or a stale taste in ice before one week passes, clean sooner.
What do I do if the ADD WATER light stays on even after I fill the tank?
First, check that you filled the tank to the MAX line—not above, not below. If water level is correct, air is trapped in the pump. This commonly happens after idle periods. Unplug the machine, wait 30 seconds, plug it back in, and press the power button to restart. The pump should draw water and the light should turn off within 1-2 cycles. If it persists, the water sensor may need replacement—contact customer service at 213-4467172.
Is vinegar safe to use in an ice maker, or will it damage components?
Yes, diluted white vinegar (1 part vinegar to 3 parts water) is specifically recommended in the manual for cleaning. It’s food-safe and won’t damage the plastic or metal components. However, you must rinse thoroughly afterward—any vinegar residue left inside will contaminate ice. Never use pure, undiluted vinegar or strong commercial descaling acids; the manual forbids harsh acids.
What’s the difference between cloudy ice and defective ice?
The manual explains: “Due to fast freezing, ice cubes may be opaque. This is because of the air trapped in the water, which does not affect the quality or the taste of the ice.” Cloudiness is normal and not a defect. It’s caused by rapid freezing—the faster the freeze, the less time air has to escape, so bubbles get trapped. This is actually a sign your ICM1241 is working properly. If ice tastes metallic or smells bad, that indicates contamination requiring cleaning.