Your BACOENG vacuum gauge not reading accurately often comes down to three simple issues: improper gauge preparation, internal chamber leaks, or pump performance problems. The liquid-filled gauge in your BACOENG chamber requires specific calibration steps before use, and skipping these can make readings drift significantly from the actual pressure. This guide walks you through diagnosing and fixing vacuum pressure reading issues using the exact procedures from the BACOENG manual.
Why Your BACOENG Vacuum Gauge Reads Inaccurately
A liquid-filled vacuum gauge can build internal pressure during storage and shipping, which directly causes inaccurate readings. When you first use your BACOENG chamber, the gauge may read wildly different from actual vacuum pressure because it hasn’t been vented to atmospheric pressure. Beyond preparation, three other failure points commonly cause the gauge needle to give false readings: leaks in the chamber seal, loose hose connectors, or a vacuum pump that isn’t pulling hard enough.
Common causes of inaccurate vacuum readings
The most frequent culprits are:
- Skipped gauge venting – The gauge was never left open to atmospheric pressure for 10-15 minutes
- Chamber gasket debris – Dust or particles blocking the seal between lid and pot body
- Loose hose barb connections – Hose not fully pushed onto the barb fitting
- Slow leaks at valve angles – Valves not positioned at exactly 90 degrees during testing
- Low pump oil or cloudy oil – Pump cannot pull full vacuum when oil is dirty or below the sight glass midpoint
Why liquid-filled gauges drift out of calibration
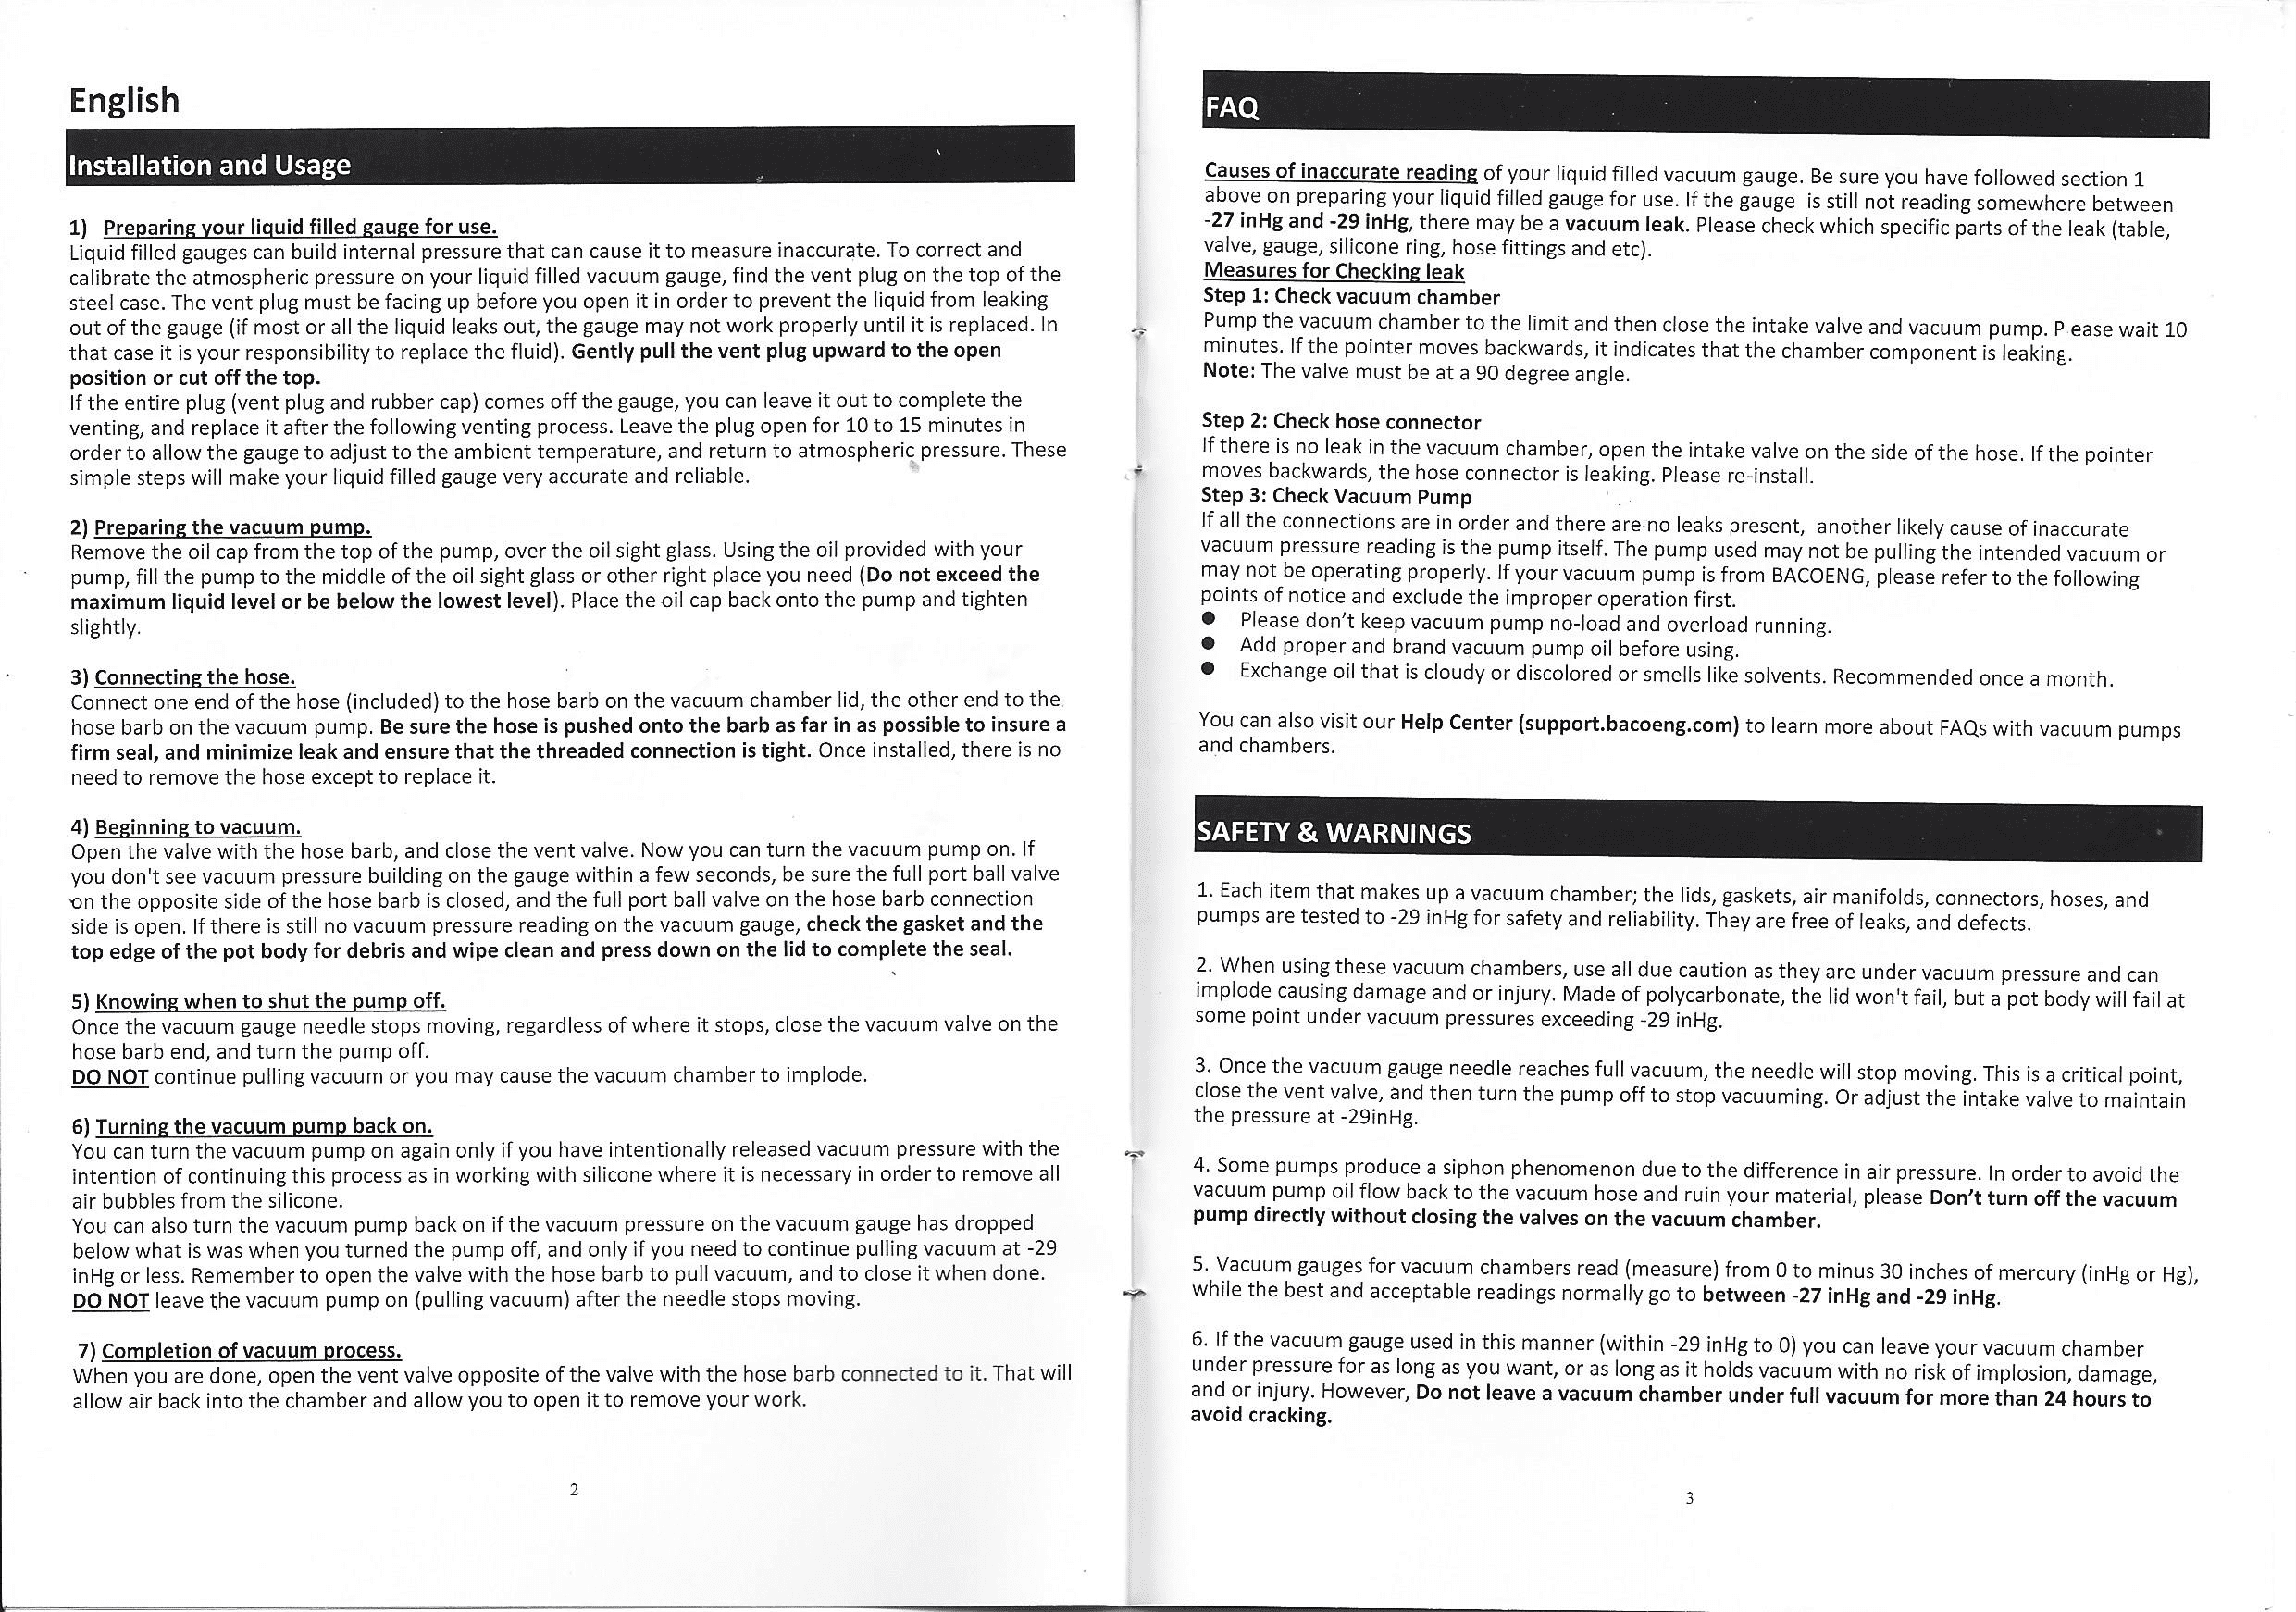
Liquid-filled gauges contain damping fluid that stabilizes the needle movement, but internal pressure buildup during storage causes this liquid to compress. When compressed, the gauge reads higher than actual pressure (less negative). The venting process releases this internal pressure so the liquid can return to its normal state. According to BACOENG specifications, you must leave the vent plug open for 10 to 15 minutes minimum to allow the gauge to adjust to ambient temperature and atmospheric pressure. Skipping this step or venting for only 2-3 minutes leaves residual pressure in the gauge, causing readings to drift by several inHg.
Acceptable vs. problematic pressure ranges
BACOENG vacuum chambers are tested and rated to -29 inHg (inches of mercury). The acceptable operating range for accurate readings is between -27 inHg and -29 inHg. If your gauge needle stops anywhere between these two marks after 10-15 minutes of pumping, the system is working correctly. If the needle is reading above -27 inHg (e.g., -25 inHg or -20 inHg) or won’t move at all, a leak or pump issue is present. The critical safety point is -29 inHg—the chamber pot body will fail under deeper vacuum, and the manual explicitly states DO NOT continue pulling vacuum once the needle stops moving.
Step 1: Prepare and Calibrate Your Liquid-Filled Gauge
Before you connect your pump or open any valves, the gauge must be vented to atmospheric pressure. This is the single most critical step for fixing inaccurate readings, and many users skip it because the manual instruction is brief. Following the exact BACOENG procedure ensures your gauge delivers reliable pressure readings from the first pump cycle.
How to properly vent the gauge to atmospheric pressure
Locate the vent plug on the top of the steel case—it’s a small plug with a rubber cap. The vent plug must be pointing upward before you open it. This orientation prevents the internal damping liquid from flowing out and contaminating your chamber or workspace. If the liquid leaks out completely, the gauge will not function until the fluid is replaced at your expense.
Gently pull the vent plug upward into the open position. Do not force it; steady, moderate pressure is sufficient. If the entire plug assembly (vent plug plus rubber cap) comes off, you can leave it out during the venting process and reinstall it afterward. The purpose is to break the seal and allow air pressure to equalize inside the gauge.
Why vent plug position matters (must face upward)
The upward-facing position is a safety requirement, not a suggestion. Liquid-filled gauges use a sealed chamber containing damping fluid and air space above it. When the vent is opened facing upward, atmospheric air enters at the top, pushing down on the fluid surface evenly. If you open the vent plug facing sideways or downward, the internal liquid can flow directly out of the gauge through the vent hole, leaving the gauge partially empty. A partially empty gauge will have an air gap in the fluid column, causing erratic needle movement and completely unreliable readings. BACOENG specifies that if all the liquid leaks out, you must replace the entire fluid—this is your responsibility and expense.
10-15 minute venting process for accuracy
After opening the vent plug, leave it open for exactly 10 to 15 minutes. This duration allows three things to happen: the internal air pressure equalizes with atmospheric pressure, the internal liquid temperature stabilizes to room temperature, and any small air bubbles trapped in the liquid have time to rise and escape. Venting for only 3-5 minutes leaves residual pressure in the gauge, which causes the needle to read higher (less negative) than actual chamber pressure. Many users vent for 2-3 minutes and think the gauge is ready, then become frustrated when it reads -20 inHg instead of -27 inHg.
Set a timer for 10-15 minutes and do not close the vent plug early. After the timer sounds, gently push the vent plug back down to the closed position. If the rubber cap came off separately, reinstall it as well. Your gauge is now calibrated and ready for accurate readings.
Step 2: Diagnose Leaks With The Three-Point Check
Once your gauge is vented and reads in the -27 to -29 inHg range, any further inaccuracy points to a leak. BACOENG’s FAQ section outlines a three-point diagnostic method: check the chamber first, then the hose connector, then the pump. Following this sequence in order narrows down the leak location quickly.
Check 1 – Is the chamber leaking? (90-degree valve test)
Pump your BACOENG chamber to maximum vacuum (the needle will stop moving when it reaches -29 inHg). Close the intake valve on the hose barb connection and turn off the vacuum pump. Now wait 10 minutes without touching anything. Watch the gauge needle carefully.
What the pointer movement tells you: If the needle moves backward (toward zero, becoming less negative), the vacuum is leaking out of the chamber itself. This means one of these components is faulty: the lid gasket, the chamber seal, a ball valve, or the silicone ring. If the needle does not move during the 10-minute wait, the chamber seal is intact and the leak is elsewhere.
Critical detail: The valve must be at a 90 degree angle. This specification appears in both the English and German sections of the manual. If the ball valve is at 45 degrees or any other angle, the test result is invalid. The 90-degree angle ensures the valve is fully closed and creates a complete seal. Even a slight angle can allow a slow leak that makes the test inconclusive.
Vacuum Chamber Leak Detection Method
If the chamber itself is the source of the leak, you must isolate it from the pump and hose to confirm the problem and identify the exact failing component.
How to isolate the vacuum chamber
Ensure the intake valve on the hose barb is in the fully closed position (handle pointing at 90 degrees to the hose connection). Verify the vacuum pump is off. The chamber is now isolated from external pressure. Any pressure change that occurs during the next 10 minutes is happening inside the sealed chamber only, which means the leak is in the lid, gasket, pot body seals, or internal valves.
Wait test: what the pointer movement tells you
Observe the gauge needle for the full 10-minute wait period. A backward-moving needle indicates air is leaking into the chamber, breaking the seal. Common leak sources are:
- Gasket debris: Dust, lint, or food particles lodged between the lid gasket and the pot body edge. Solution: open the chamber, remove the lid, and wipe the entire perimeter of the pot body with a clean dry cloth. Wipe the gasket itself as well. Reinstall the lid and press down firmly to seat the gasket fully.
- Gasket damage: Cracks, compression marks, or brittleness in the silicone ring. If the gasket is visibly damaged, it must be replaced. Contact BACOENG support at [email protected] with your chamber model and order a replacement gasket kit.
- Lid warping: If the acrylic lid is warped or the polycarbonate lid has become misaligned, the gasket cannot seal evenly. This is less common but occurs if the chamber was dropped or exposed to extreme heat.
Why the 90-degree valve angle is critical
Ball valves seal when the internal bore (the hole through the ball) is perpendicular to the inlet and outlet ports. At 90 degrees, the handle is parallel to the hose barb—this is the fully closed position. At 0 degrees (handle pointing directly down the hose), the valve is fully open. Any angle between these positions leaves the valve partially open, allowing vacuum to leak past the ball seal. If you perform the chamber leak test with the valve at 45 degrees, air will slowly enter the chamber and the needle will move backward, falsely suggesting the chamber is leaking when the valve itself is the problem. Always position the handle at exactly 90 degrees, perpendicular to the hose connection.
Hose Connector and Fitting Leak Detection
If the chamber passed the 10-minute needle test (pointer did not move), the leak is not in the chamber. Move to the second diagnostic step: check the hose connector where it attaches to the chamber.
Testing hose connections for slow leaks
With the chamber still at vacuum (needle stopped at -29 inHg or lower), now open the intake valve on the hose barb. Watch the gauge needle for 2-3 minutes. If the needle immediately begins moving backward, the hose connector is leaking. Air is entering the system through the barb connection rather than through a chamber seal.
Hose connector leaks occur because the rubber hose was not pushed all the way onto the plastic barb when connected. According to BACOENG installation instructions, “the hose must be pushed onto the barb as far as possible to insure a firm seal.” Many people push the hose on until it looks seated, but leave a small gap (1/8 inch or more) between the hose end and the barb base. When vacuum pulls, this gap widens slightly, allowing air to slip past the rubber-to-plastic interface.
Proper reinstallation to stop leaking
Remove the hose from the barb by pulling it straight off—do not twist or bend it sideways. Inspect the barb for cracks or rough edges that might prevent a tight seal. If the barb looks damaged, contact BACOENG support for a replacement lid or chamber assembly.
If the barb is intact, dry both the barb and the inside of the hose with a clean cloth. Hold the hose in one hand and the barb in the other. Push the hose onto the barb with steady, firm pressure. You should feel resistance as the rubber stretches around the barb, and the hose should slide on until it touches the base of the barb fitting. BACOENG’s manual describes this as the “pushable-onto-barb assembly technique.” The hose should be difficult to remove by hand—if it slides off with light tugging, it was not pushed on far enough.
Reconnect the hose to the pump or chamber and repeat the leak test. Pump to vacuum and wait 10 minutes with the intake valve closed. If the needle now holds steady, you’ve fixed the leak.
Pump Performance Issues and Solutions
If the chamber seal is intact and the hose connector is tight, but the gauge still won’t read between -27 and -29 inHg, the vacuum pump itself is not pulling hard enough. This is the third and final diagnostic step.
Signs your vacuum pump isn’t pulling adequately
When you turn on the pump, watch the gauge needle. It should move steadily toward the negative side (leftward) over 30-60 seconds, reaching -15 to -20 inHg within the first minute. If the needle moves very slowly, reaches only -10 inHg, or doesn’t move at all, the pump has a problem. Typical symptoms include:
- Slow needle movement: The gauge needle creeps toward negative pressure instead of moving steadily. This indicates reduced pumping capacity.
- Weak final vacuum: The pump stops pulling before reaching -27 inHg, settling at -15 or -20 inHg. The needle then stays fixed at this lower pressure.
- No vacuum buildup: The needle does not move at all after 10-15 seconds of pumping, even though the pump sounds like it’s running.
- Pump stops abruptly: The pump runs for a few seconds, then stops or makes a grinding noise.
BACOENG pump care: oil maintenance and no-load operation rules
BACOENG vacuum pumps are rotary vane designs that rely on oil for lubrication and sealing. Without proper oil, the internal vanes cannot slide smoothly in the rotor chamber, and air leaks past the vanes instead of being evacuated. The manual specifies three critical pump care rules:
Rule 1: Oil level must be at the sight glass midpoint. Remove the oil cap from the top of the pump (above the oil sight glass). Look at the glass—you should see the oil level between the minimum and maximum lines. If the oil is below the minimum line, add BACOENG pump oil or equivalent mineral-based vacuum pump oil until the level reaches the midpoint. Do not overfill above the maximum line; excess oil can be drawn into the pump chamber and damage internal components. Tighten the oil cap firmly after refilling.
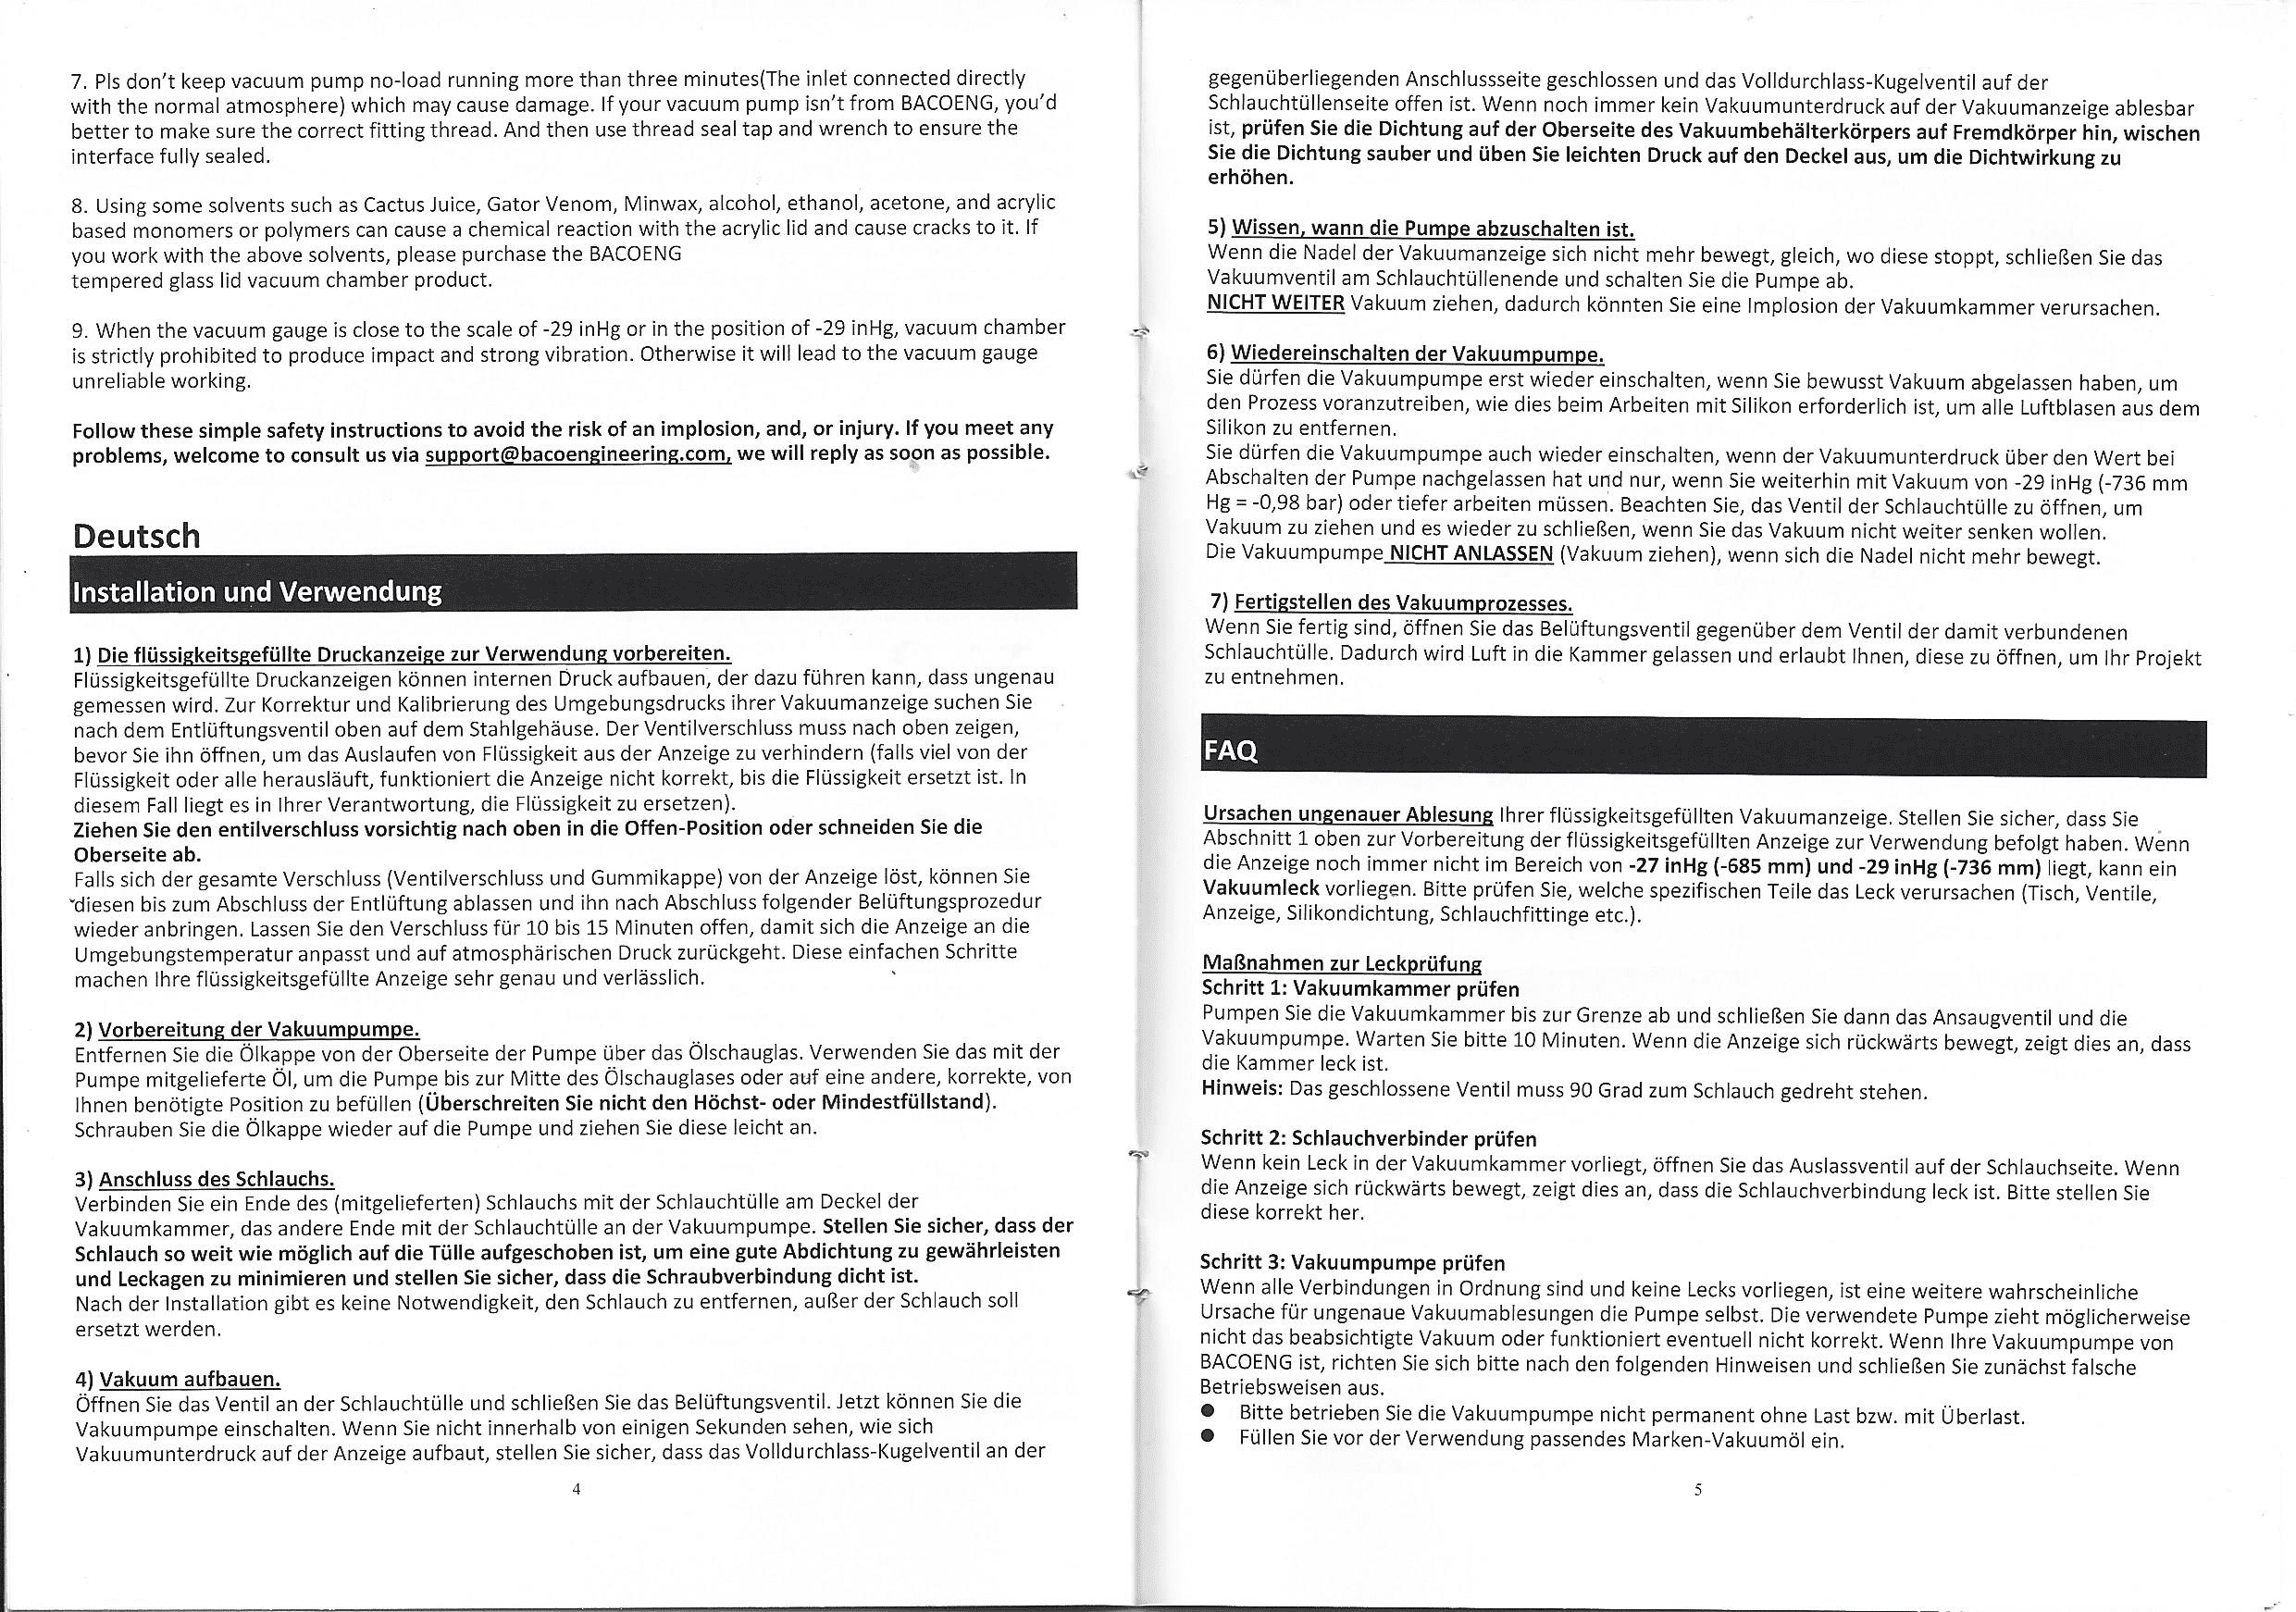
Rule 2: Never run the pump on no-load for more than 3 minutes. No-load operation means the pump inlet is connected directly to atmospheric air (not to the vacuum chamber). Running a pump with atmospheric air flowing through it continuously generates heat and causes internal wear. BACOENG limits no-load running to 3 minutes maximum. If you need to test the pump, run it for 3 minutes only, then stop and let it cool. The pump is designed to spend most of its time pulling vacuum (loaded operation), not running idle.
Rule 3: Exchange oil monthly or when discolored. Vacuum pump oil degrades when exposed to moisture, solvents, or air. If the oil appears cloudy, has a milky color, is darker than fresh oil, or smells like solvents, it must be replaced. Cloudy oil indicates water contamination, which reduces lubrication and seal efficiency. Replace the oil by unscrewing the oil cap, tilting the pump body, and draining old oil into a waste container. Refill with fresh vacuum pump oil to the sight glass midpoint and reinstall the cap.
When to replace pump oil (cloudy or discolored)
Fresh vacuum pump oil is clear or pale yellow. After use, especially if you’ve been vacuuming materials that release moisture or volatile compounds, the oil can darken. A slight color change is normal, but watch for these warning signs:
- Cloudy or milky appearance: Water has been absorbed into the oil. This happens when humid air is drawn into the pump or when you pump items that release moisture (like wet resin or damp materials). Replace immediately.
- Dark brown or black color: The oil has oxidized or absorbed contaminants from materials. Replace.
- Smell of solvents or chemicals: Solvent vapors have been dissolved into the oil, indicating you’ve used the chamber with chemical materials. Check the safety warnings section of the manual—some solvents like acetone or ethanol can damage the acrylic lid as well as contaminate the pump oil. If you use solvents, replace the oil and consider upgrading to a tempered glass lid model.
- Visible particles or sludge: Debris is suspended in the oil. This indicates internal wear or contamination. Replace the oil and inspect the pump intake filter if your pump model includes one.
BACOENG recommends oil changes once per month if you use the pump regularly. If you use it occasionally (once a week or less), change the oil every 2-3 months or whenever it shows signs of discoloration.
Correct Pressure Ranges for BACOENG Chambers
Understanding the pressure scale is crucial for knowing whether your gauge reading is acceptable or indicates a problem. BACOENG vacuum gauges measure in inches of mercury (inHg), ranging from 0 (atmospheric pressure) to -30 inHg (theoretical perfect vacuum). Your chamber is tested to -29 inHg.
Acceptable reading range: -27 to -29 inHg explained
The acceptable operating window is between -27 inHg and -29 inHg. This 2-inHg range exists because real-world chambers cannot pull perfect vacuum. Small leaks, air released from materials being vacuumed, and pump efficiency variations mean the needle will stop somewhere in this range. A reading of -28 inHg is typical and correct—it indicates strong vacuum suitable for degassing epoxy, removing air bubbles from silicone, and other vacuum chamber applications.
| Pressure Reading (inHg) | Status | Action |
|---|---|---|
| 0 to -10 | Weak vacuum | Check pump oil level and condition; check for leaks |
| -10 to -20 | Moderate vacuum | Acceptable for some applications; continue checking for slow leaks |
| -20 to -27 | Good vacuum | Acceptable for most applications; monitor for leaks over time |
| -27 to -29 | Excellent vacuum (target range) | Normal and correct; stop pumping when needle stops moving |
| Below -29 | Over-vacuum (dangerous) | DO NOT PULL DEEPER; pot body will fail and implode |
Why -29 inHg is the critical stop point
BACOENG chambers are tested and certified safe to -29 inHg. The polycarbonate or acrylic lid can safely withstand pressures down to -29 inHg indefinitely, but the pot body (the plastic chamber itself) will fail if deeper vacuum is applied. The manual states explicitly: “Once the vacuum gauge needle reaches full vacuum, the needle will stop moving. This is a critical point, the pressure at -29 inHg.” When the needle stops moving, the chamber has reached its maximum safe vacuum. Do not attempt to pull the vacuum deeper by leaving the pump on longer. If you do, the needle may start moving again slightly as the pump overcomes the final air pockets, but continuing to pull vacuum can cause the pot body to implode (collapse inward suddenly), causing damage, loud noise, and potential injury.
The manual also warns: “DO NOT continue pulling vacuum or you may cause the vacuum chamber to implode.” This is not a suggestion—it’s a safety requirement. Always turn off the pump and close the intake valve as soon as the needle stops moving.
What to do when gauge needle stops moving
When the needle has settled at its final position (typically between -27 and -29 inHg) and is no longer moving, follow these steps:
- Close the intake valve on the hose barb (turn the handle 90 degrees to perpendicular).
- Turn off the vacuum pump immediately.
- Do not reopen the valve or turn on the pump again unless you intentionally want to release vacuum and restart the process.
- You can safely leave the chamber under vacuum for up to 24 hours. The manual states: “Do not leave a vacuum chamber under full vacuum for more than 24 hours to avoid cracking.”
- When finished with your work, open the vent valve (the valve on the opposite side, not the hose barb valve) to allow air back into the chamber.
How to Fix and Prevent Future Gauge Errors
Once you’ve identified the source of inaccurate readings—whether it’s improper venting, a chamber leak, a hose connection issue, or pump problems—apply the relevant fix. Then establish a maintenance routine to prevent the problem from returning.
Tightening connections and seals
For hose connections, the fix is immediate: push the hose fully onto the barb and verify the fit is snug and difficult to pull off by hand. For threaded connections on valve ports or pump fittings, use a wrench to ensure the connection is tight. BACOENG specifies: “ensure that the threaded connection is tight.” Hand-tight is not sufficient; apply firm wrench pressure to close any small gaps. Tightening also compresses any gasket material at the threaded connection, improving the seal.
For the chamber lid gasket, press the lid down firmly onto the pot body after inserting it. Push down on multiple points around the lid—the center, all four edges, and the corners—to ensure even gasket compression. The gasket should feel like it’s being squeezed into the groove uniformly.
Regular maintenance and pressure monitoring
Establish a maintenance schedule to catch problems early:
- Before each use: Visually inspect the lid gasket for visible cracks or compressed areas. Wipe the gasket and pot body edge with a dry cloth to remove dust.
- Every 5 uses: Check the vacuum pump oil level at the sight glass. If it’s dropped below the midpoint, refill.
- Monthly: Inspect the pump oil color. If it’s cloudy or discolored, drain and replace it.
- Pressure trend tracking: Note the final vacuum reading (where the needle stops) each time you use the chamber. If the reading gradually drops over several uses (e.g., from -28 inHg down to -25 inHg over a week), a slow leak is developing. Investigate the hose connections and lid gasket.
- After using solvents or wet materials: Change the pump oil immediately to prevent water and solvent contamination.
BACOENG support resources for persistent issues
If you’ve followed all the diagnostic steps and your gauge is still not reading accurately, BACOENG provides three support channels:
BACOENG Help Center: Visit support.bacoeng.com to browse the FAQ database and product knowledge articles. Many common issues have already been answered.
BACOENG After-sales Service Email: Send detailed photos and a description of the problem to [email protected]. Include the chamber model number (usually printed on the pot body), the gauge reading you’re getting, the steps you’ve already taken, and your pump model if applicable. Response time is typically 24-48 hours.
BACOENG YouTube Channel: Search “BACOENG” on YouTube.com to find product introduction videos, installation walkthroughs, and troubleshooting demonstrations. Video references can clarify procedures that are hard to visualize from text alone.
Official Website Purchase: BACOENG offers replacement parts (gaskets, hoses, vacuum pump oil, entire pump assemblies) through www.bacoeng.com. Purchasing directly saves approximately 10% compared to third-party retailers, and you’re guaranteed to receive BACOENG-compatible parts.
FAQ
Why is my BACOENG vacuum gauge reading only -15 inHg after 10 minutes of pumping?
A weak reading after extended pumping typically indicates either low or dirty pump oil, a slow leak in the chamber or hose, or a blocked hose. First, check the pump oil level at the sight glass—if it’s below the midpoint, refill with BACOENG vacuum pump oil. If the oil level is adequate, inspect it for cloudiness or discoloration (signs of water contamination). If the oil is cloudy, replace it immediately. Next, perform the three-point leak check: isolate the chamber and wait 10 minutes to see if the needle moves backward (indicating a chamber leak), then test the hose connection by opening the intake valve and watching for backward needle movement (indicating a loose hose). If both the chamber and hose are tight, the pump itself may be worn internally and may need servicing or replacement.
Can I leave my BACOENG vacuum chamber under vacuum overnight?
BACOENG specifies a maximum of 24 hours under full vacuum (at -29 inHg). You can safely leave the chamber under vacuum overnight if your overnight period is less than 24 hours. However, the manual warns not to exceed 24 hours continuously to avoid cracking the acrylic or polycarbonate lid. If you need to keep materials under vacuum for longer than 24 hours, release the vacuum, open the chamber to allow air back in, then pump down again for another 24-hour cycle. The liquid in the damping fluid of the gauge can also separate if left under extreme vacuum for extended periods, causing gauge accuracy to drift, so periodic venting and re-pressurizing is also good for gauge maintenance.
What happens if I pull vacuum past -29 inHg?
The BACOENG pot body is only rated to -29 inHg. If you continue pumping after the needle stops moving, you risk pulling the pot body past its safe pressure limit, which can cause the chamber to implode (collapse suddenly and violently inward). This is extremely dangerous—the implosion makes a loud sound, can break the lid, and can scatter chamber contents. The manual explicitly states: “DO NOT continue pulling vacuum or you may cause the vacuum chamber to implode.” Always turn off the pump immediately when the needle stops moving, regardless of which pressure mark it’s resting on between -27 and -29 inHg. If the needle is still moving after 3-4 minutes of pumping, that’s normal—stop when it stops.
How do I know if my vacuum gauge needs to be replaced?
Replace the gauge if: (1) You’ve vented it properly for 10-15 minutes and it still reads above -20 inHg even though the pump and chamber seal are working correctly; (2) The needle is stuck and won’t move even when fresh vacuum is applied; (3) You accidentally opened the vent plug with it facing downward and all the liquid leaked out; or (4) The gauge has visible damage like cracks in the steel case or the acrylic face. Contact BACOENG support at [email protected] with your chamber model number to order a replacement gauge assembly.
Do I need to vent my vacuum gauge every time before using the chamber?
No—you only vent the gauge once, when you first unbox and prepare the chamber for use. After that initial 10-15 minute venting, the gauge is calibrated and stays calibrated as long as you don’t spill the internal liquid or subject the gauge to extreme temperature changes. If you notice the gauge reading drifting significantly after weeks of use (e.g., reading -20 inHg when it previously read -28 inHg), internal pressure may have built up due to temperature fluctuations. In that case, you can vent it again for 10 minutes to recalibrate. For routine use, just turn on the pump, watch the needle move, and turn off the pump when the needle stops moving.